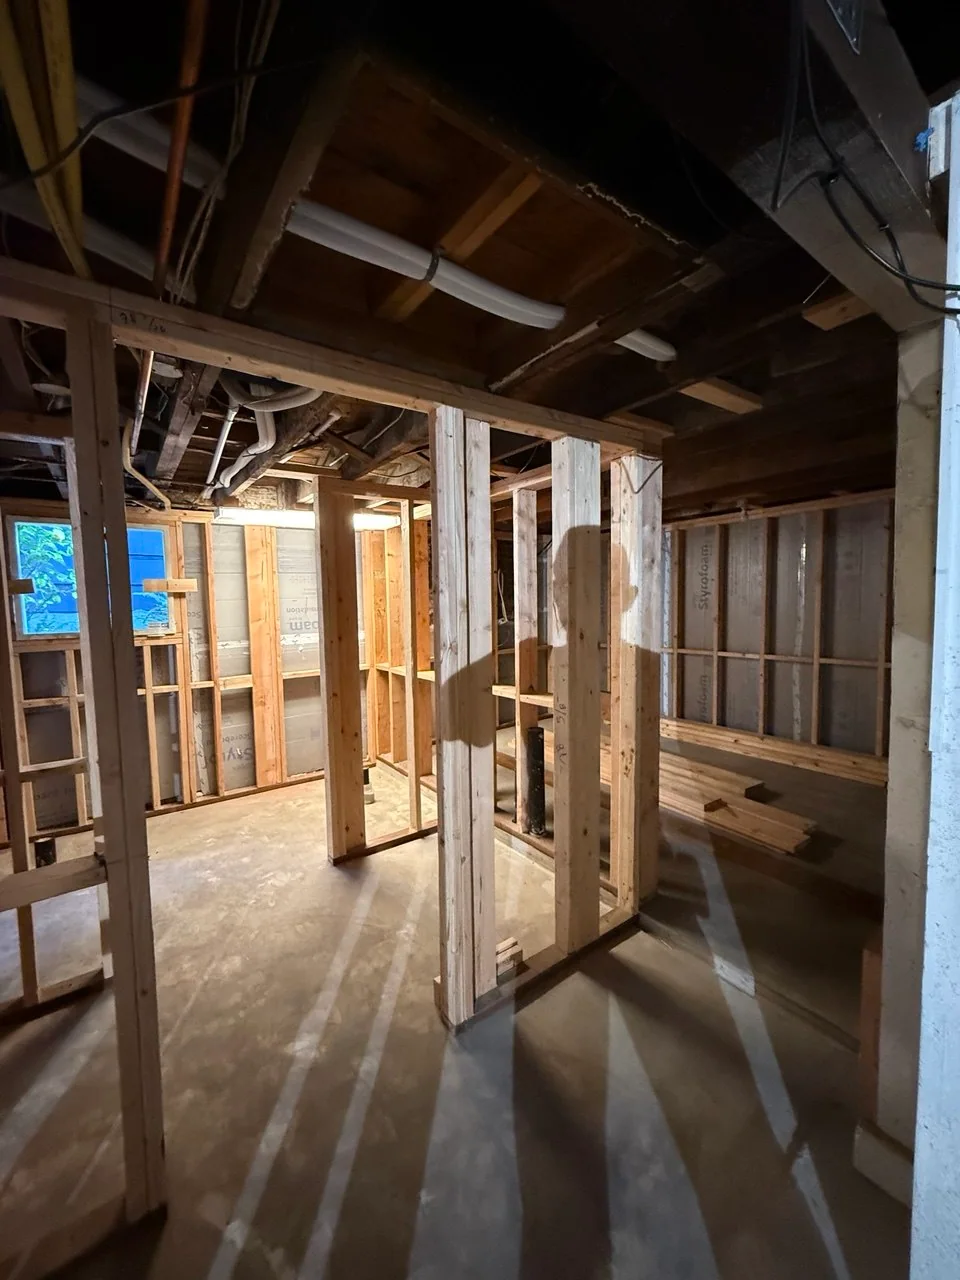
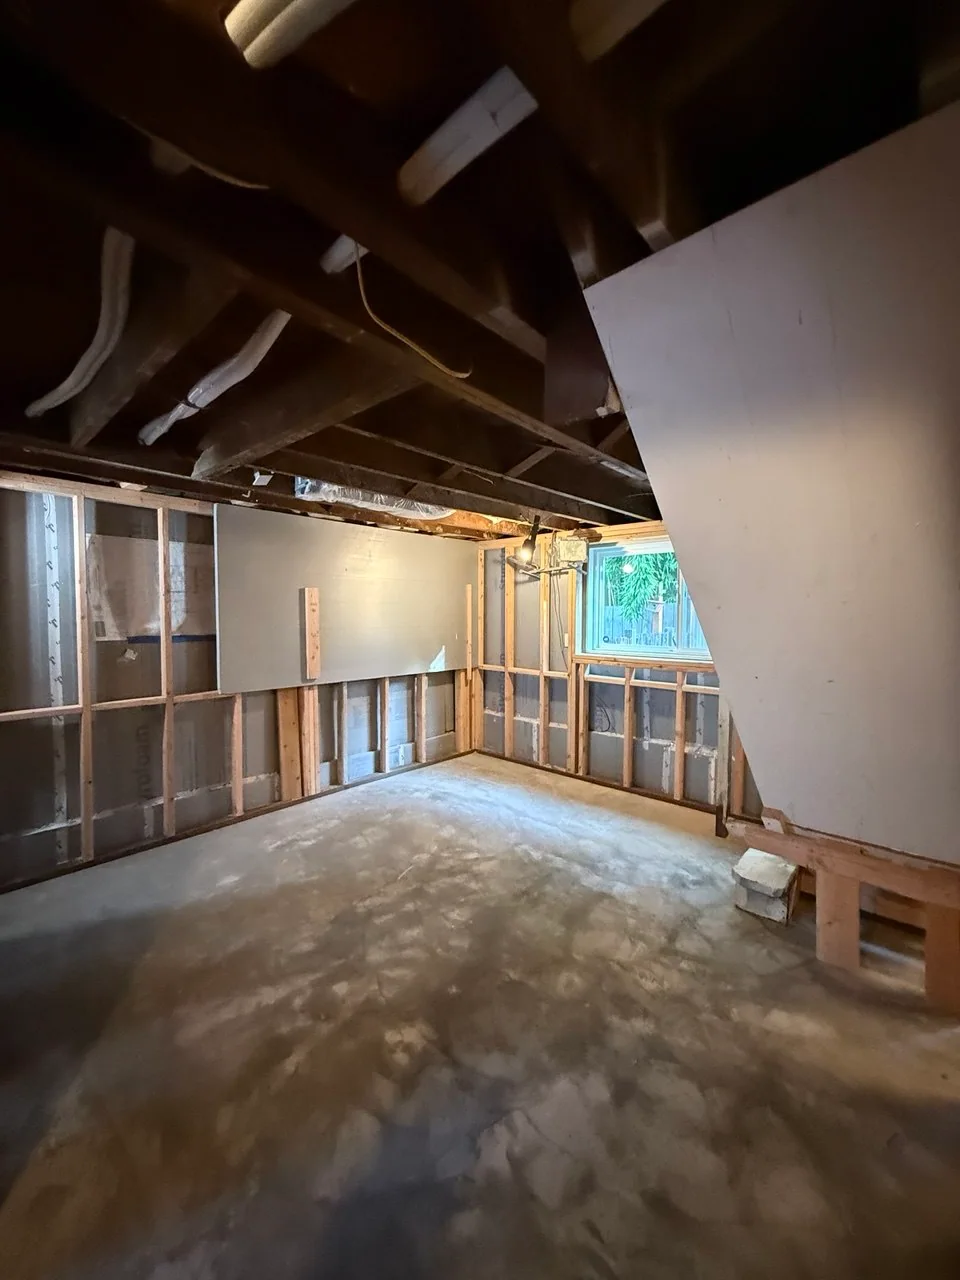
Current project · Ravenna, Seattle

Ravenna Basement Remodel

One home, one basement and one chronological construction story—from the original conditions through the work completed so far.

Start with the home ↓

Project snapshot

Active project

Location
Ravenna, Seattle
Project type
Basement remodel
Current phase
Framing complete · Rough-ins next

How to read this page

Move from the home to demolition, structure, concrete, walls and the next trades.

Each of the 32 approved photographs appears once, in the stage where it belongs. The story adds HVAC, electrical, plumbing, drywall and millwork only as those phases are documented.

01 · Home and original basement

Begin with the home and the space as it was.

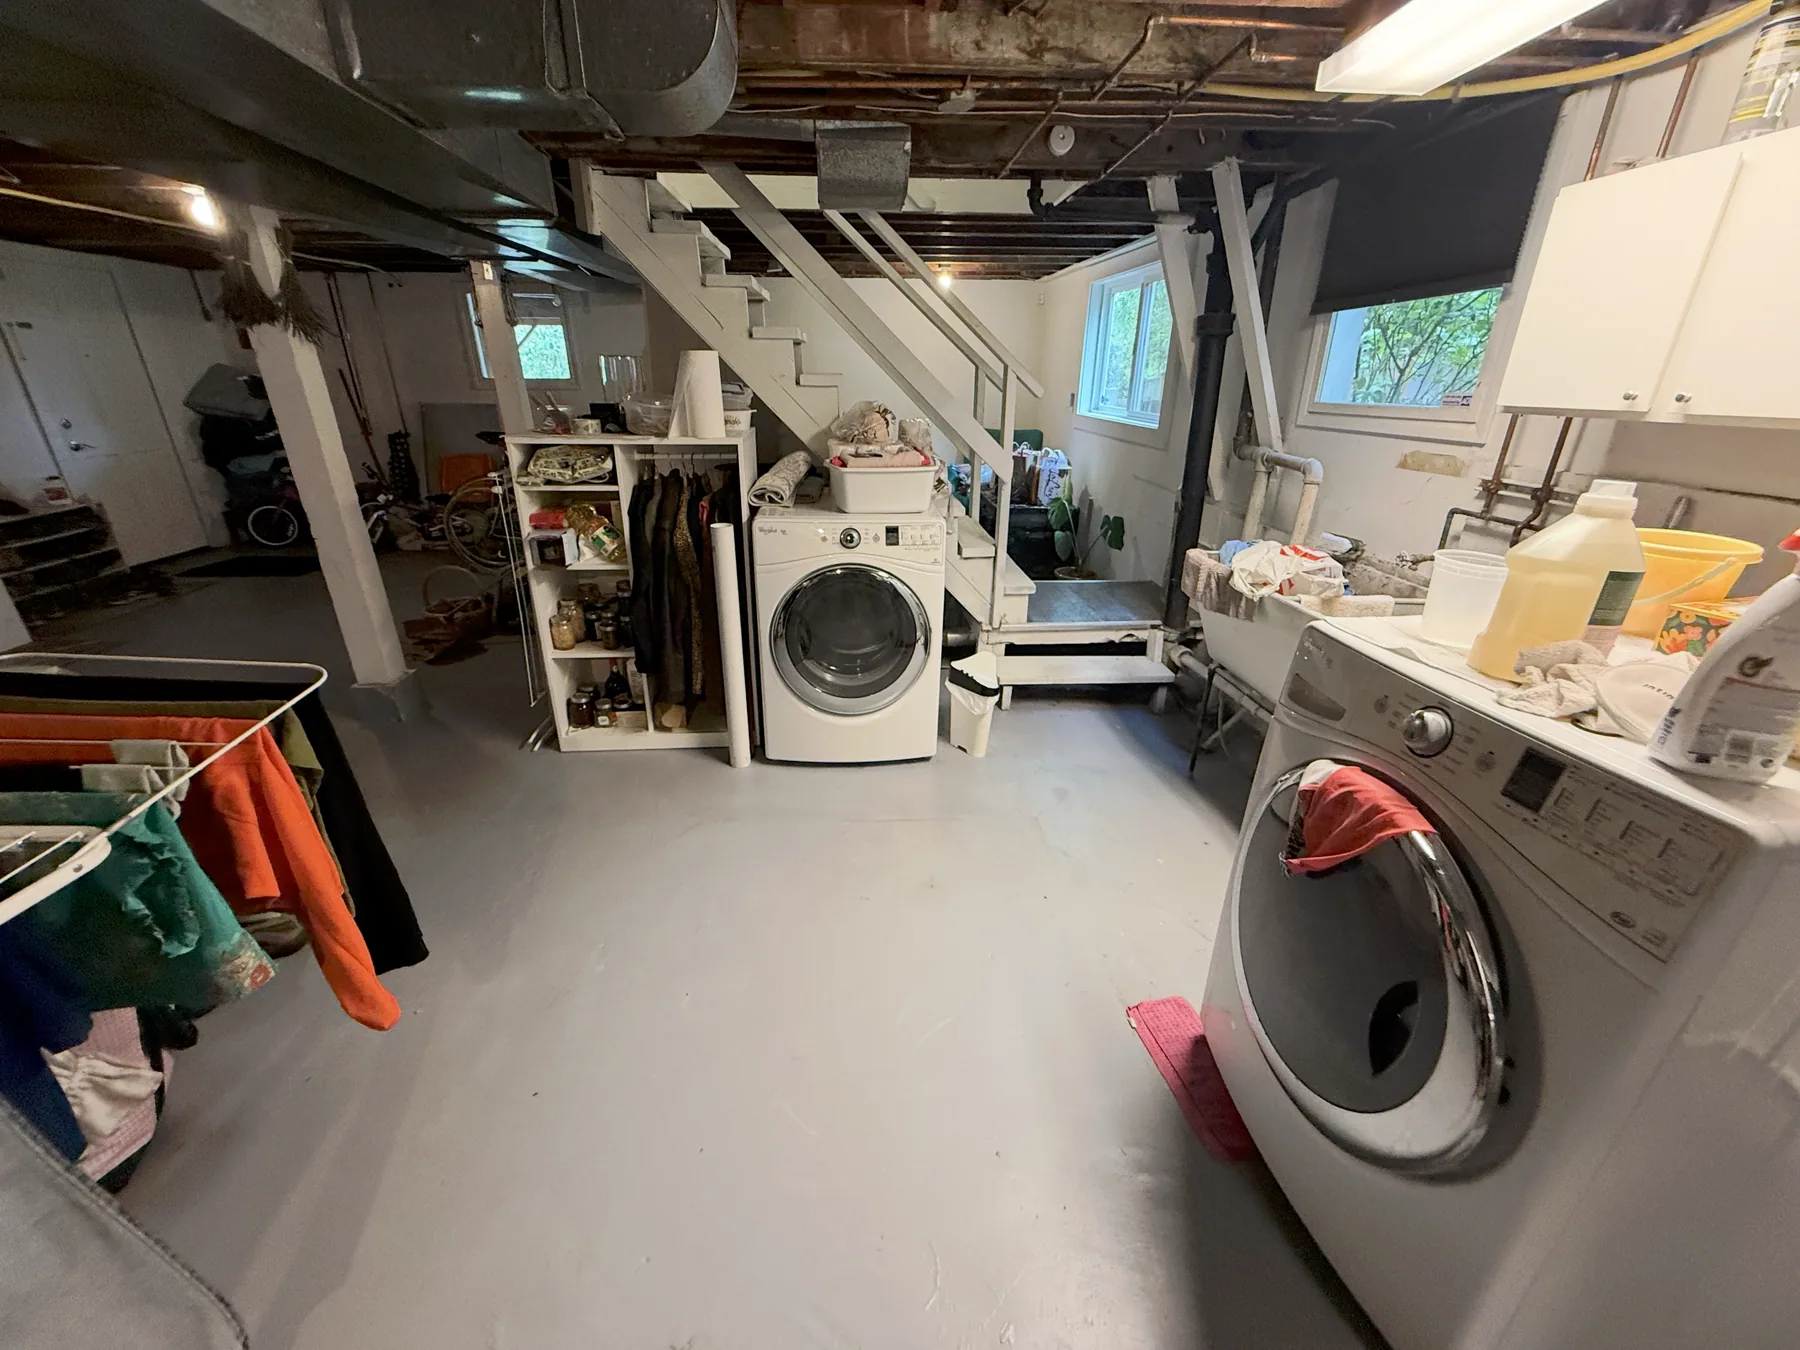
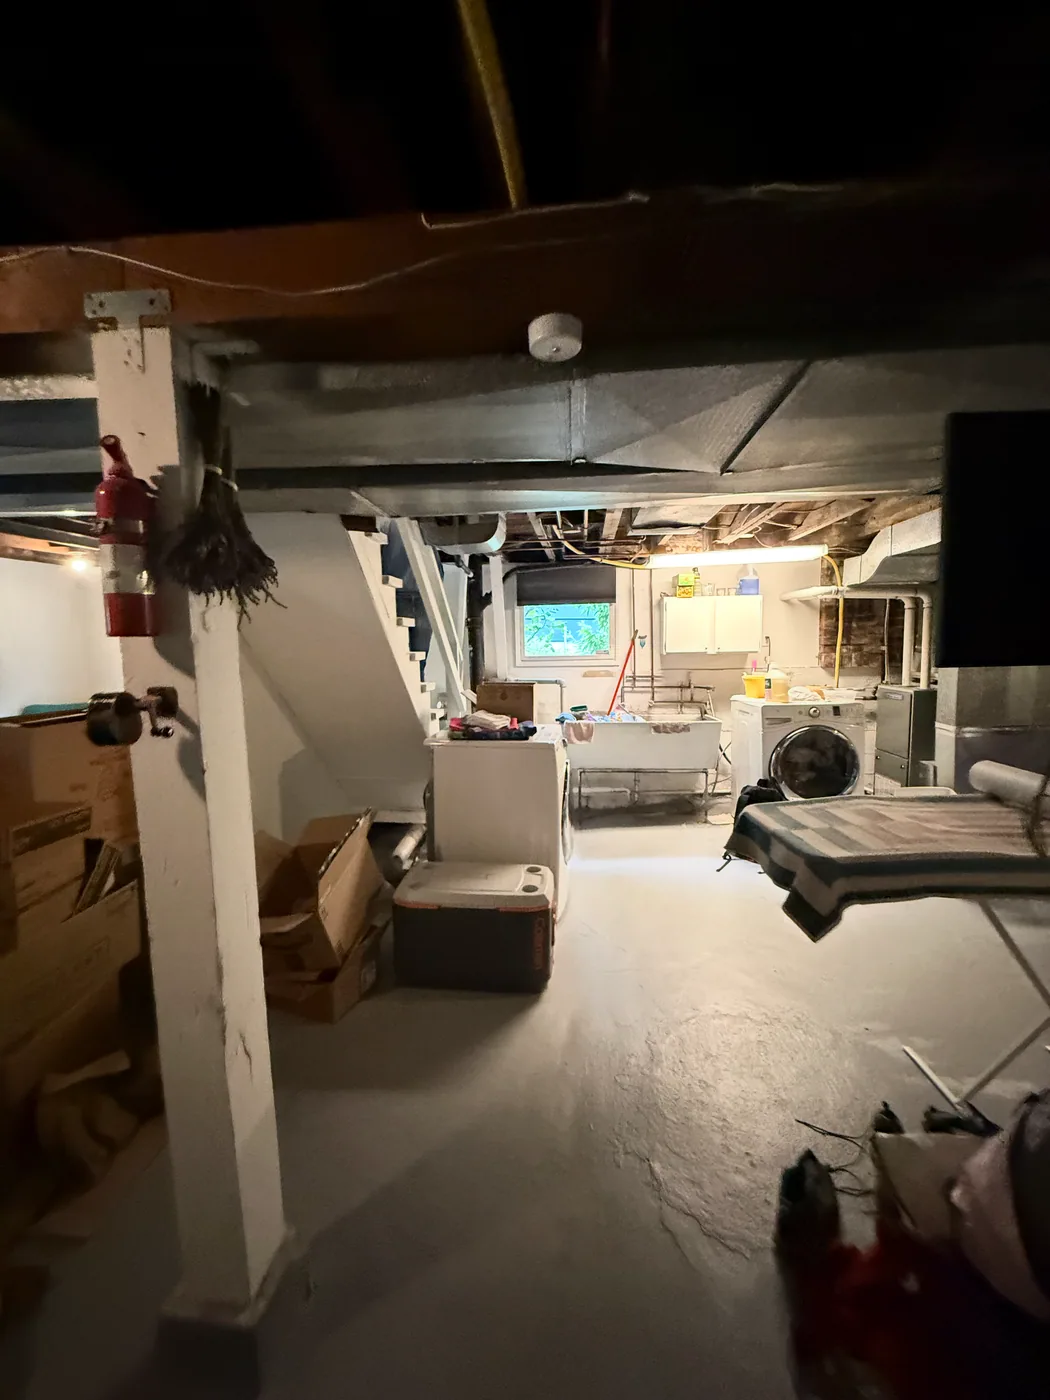
The exterior establishes which home this story follows without publishing the exact address. The two basement views then document the original slab, laundry area and open depth before demolition began. Thirty-two photographs document one continuous sequence without repeating the same image in an overview and again later.
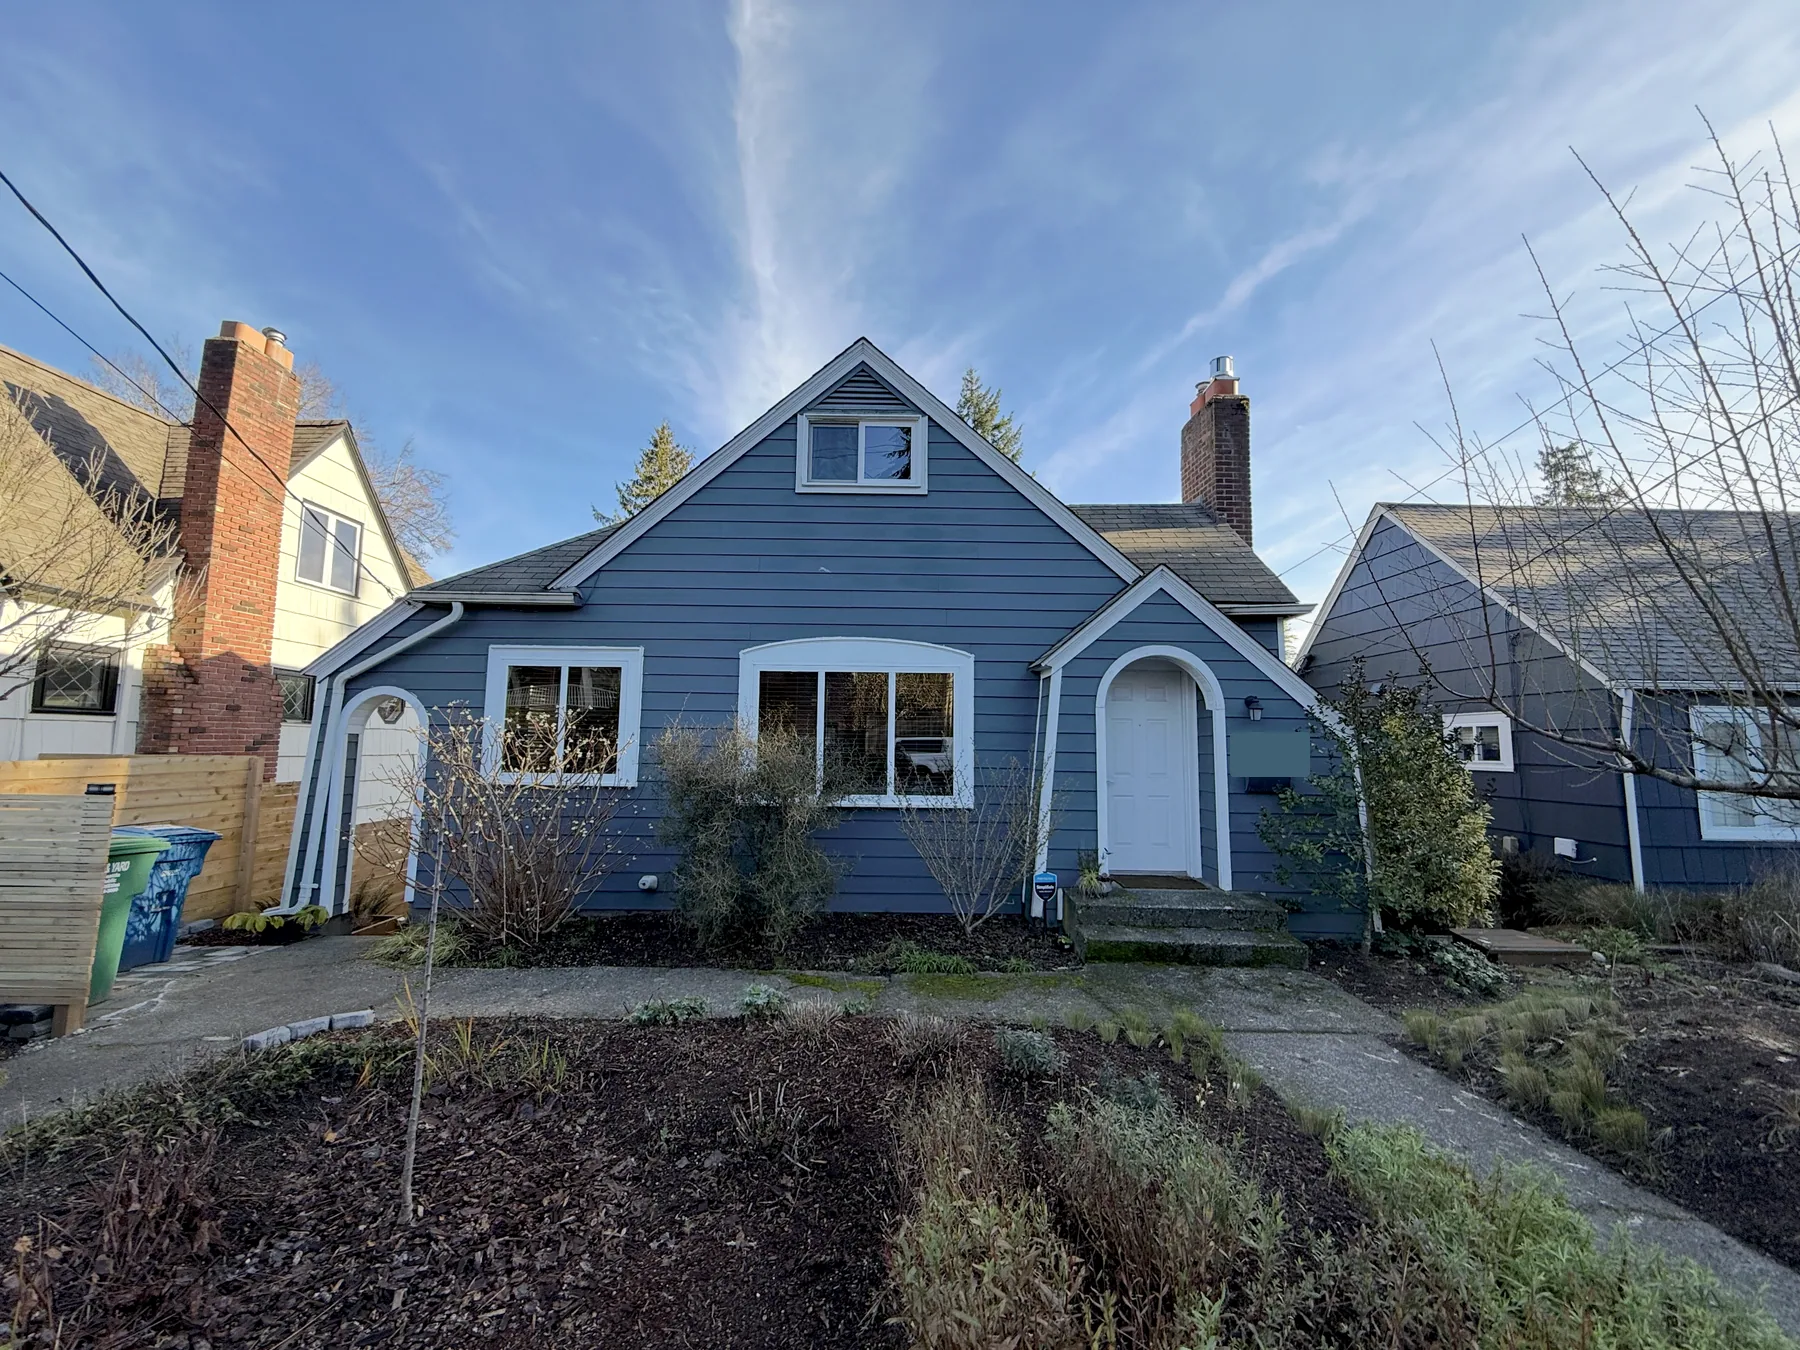
Blue Ravenna house exterior with the street number covered for privacy
The home before construction
Wide view of the Ravenna basement before floor demolition
Original basement
Original basement laundry area and concrete floor before construction
Original laundry area
Why this stage mattersThese images give every later phase a clear point of comparison. They are the starting conditions—not a finished reveal and not an unrelated example.

02 · Demolition

Open the work area in controlled sections.

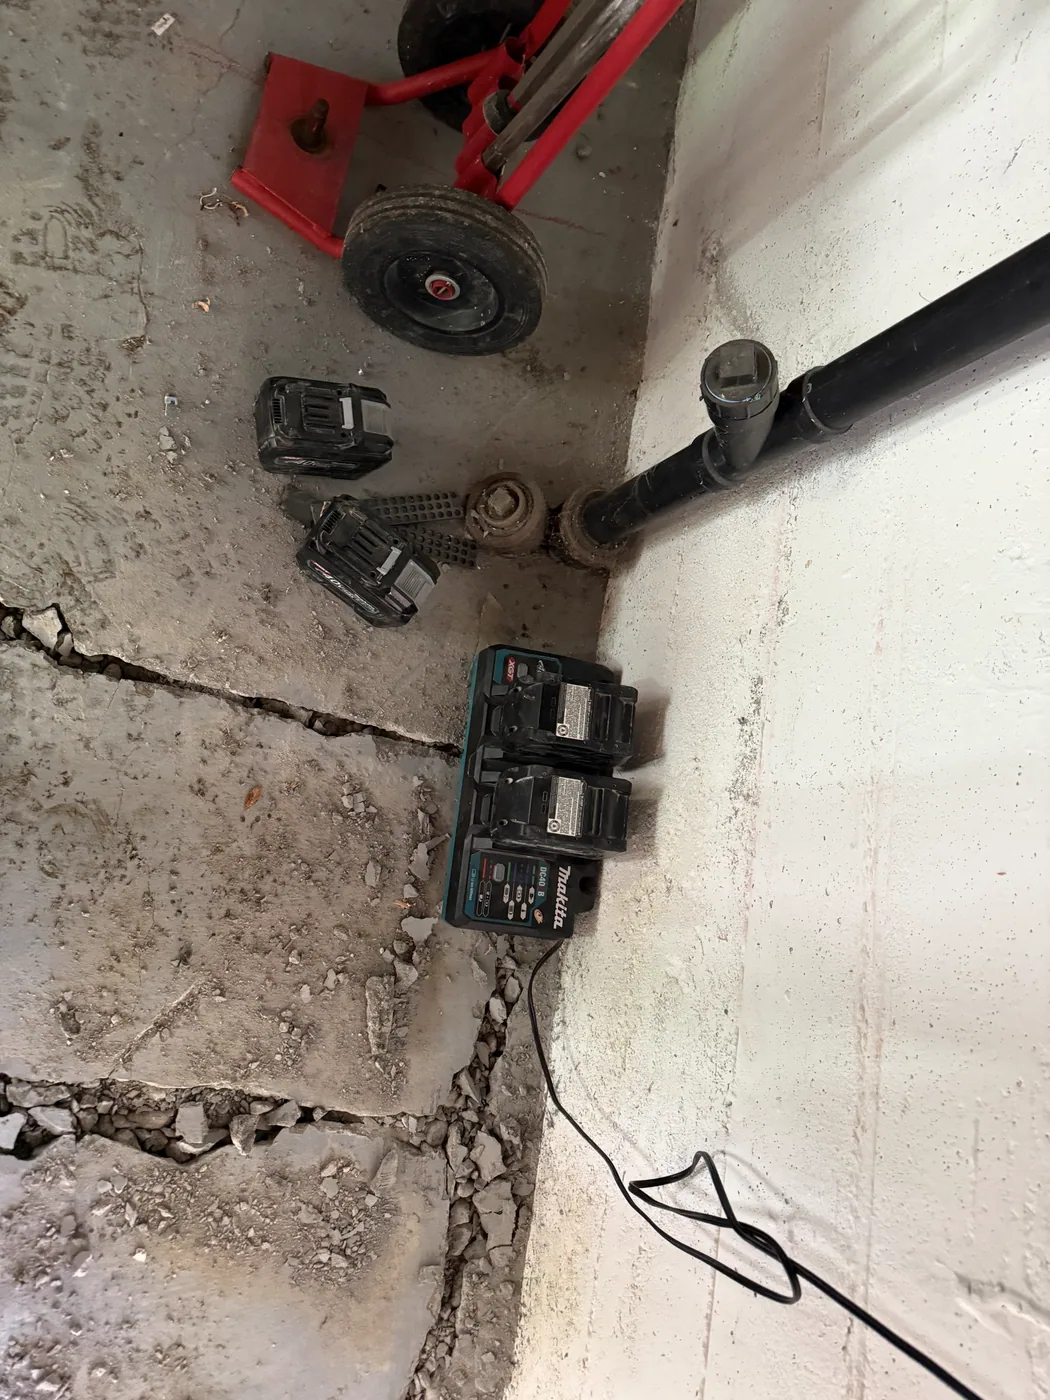
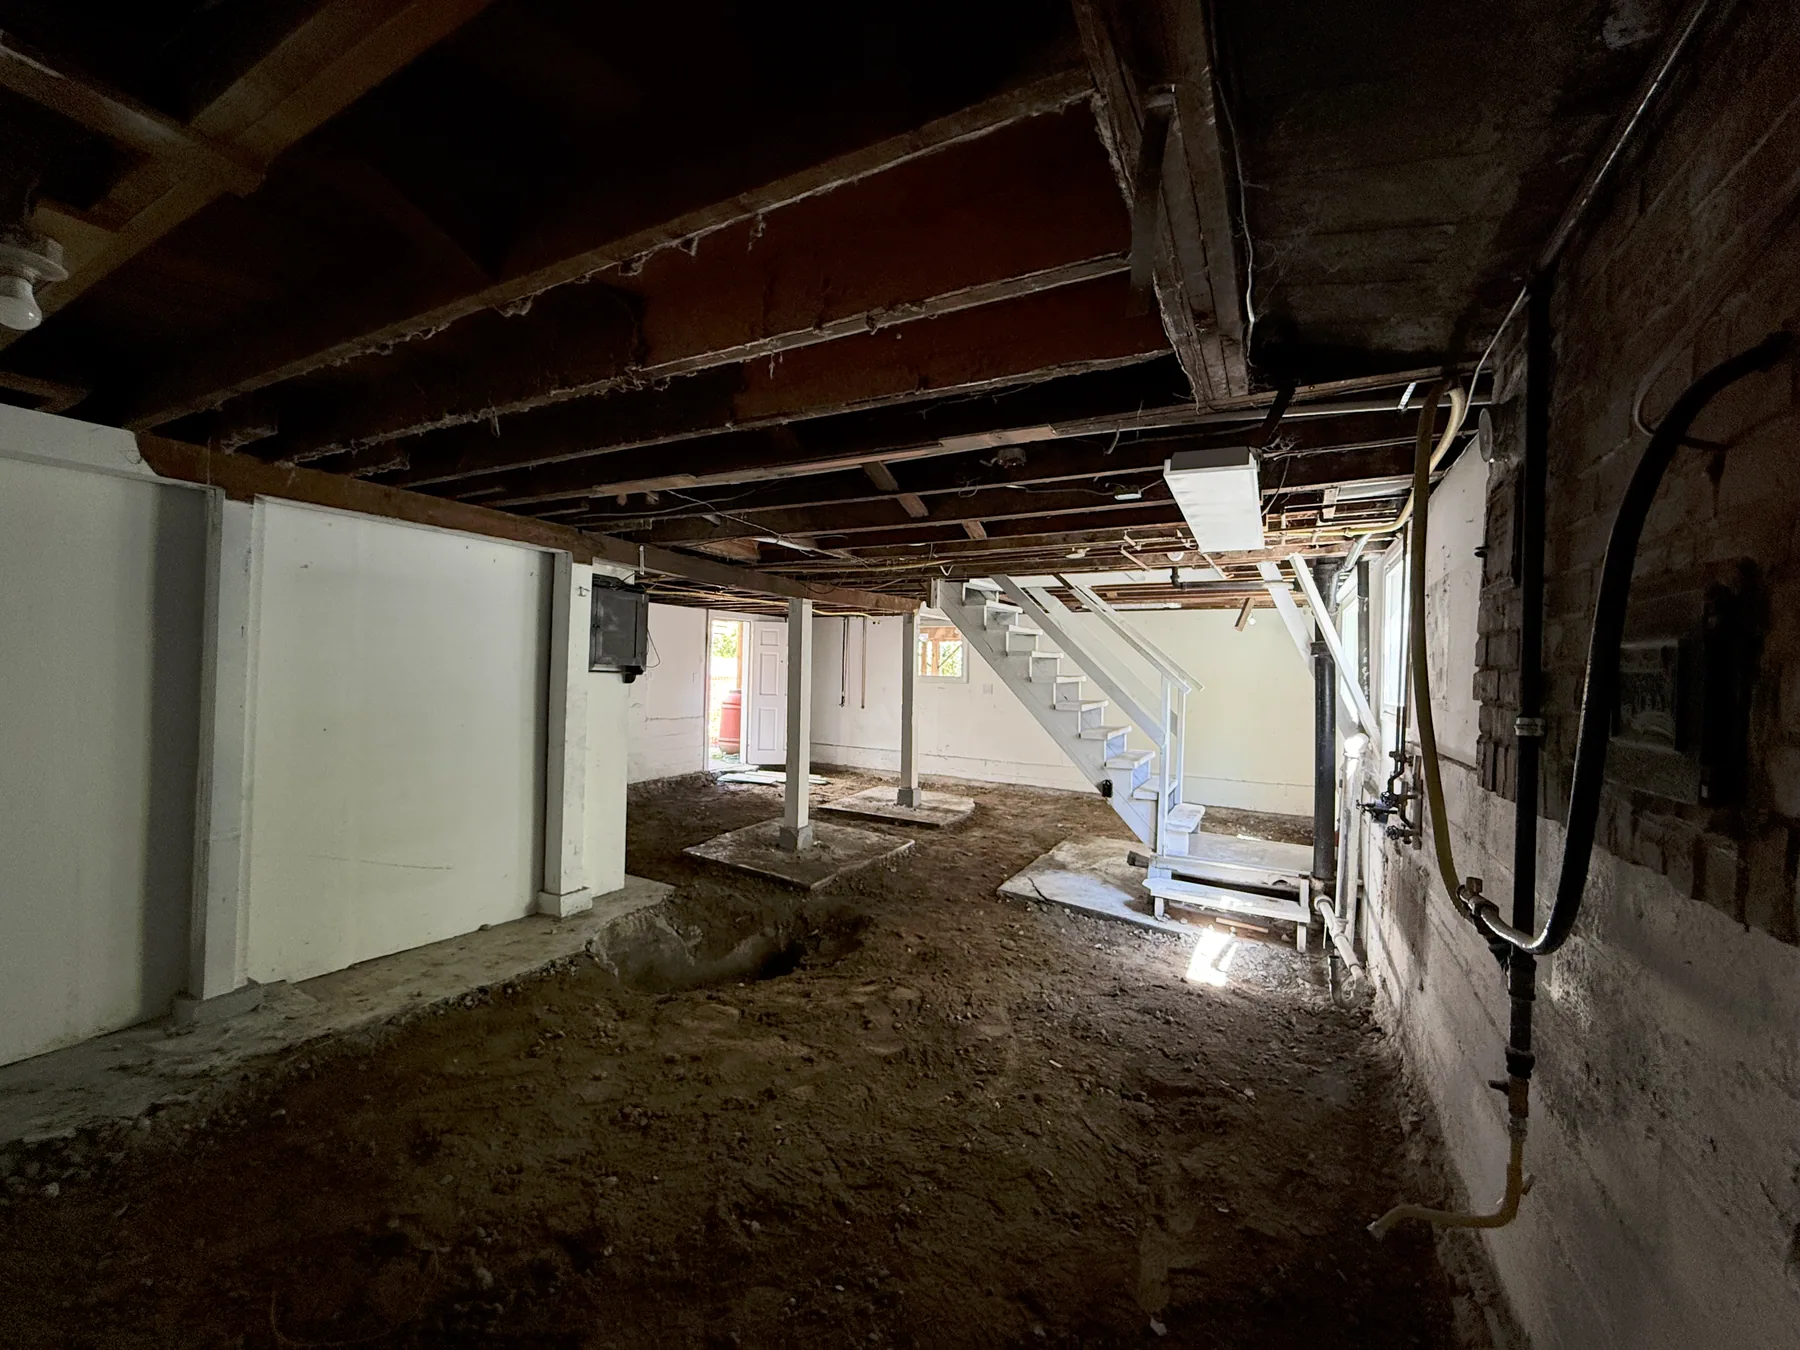
The original concrete floor was cut, broken and removed in sections. The sequence moves from active breakout to the cleared basement and the tools used to define the work area.
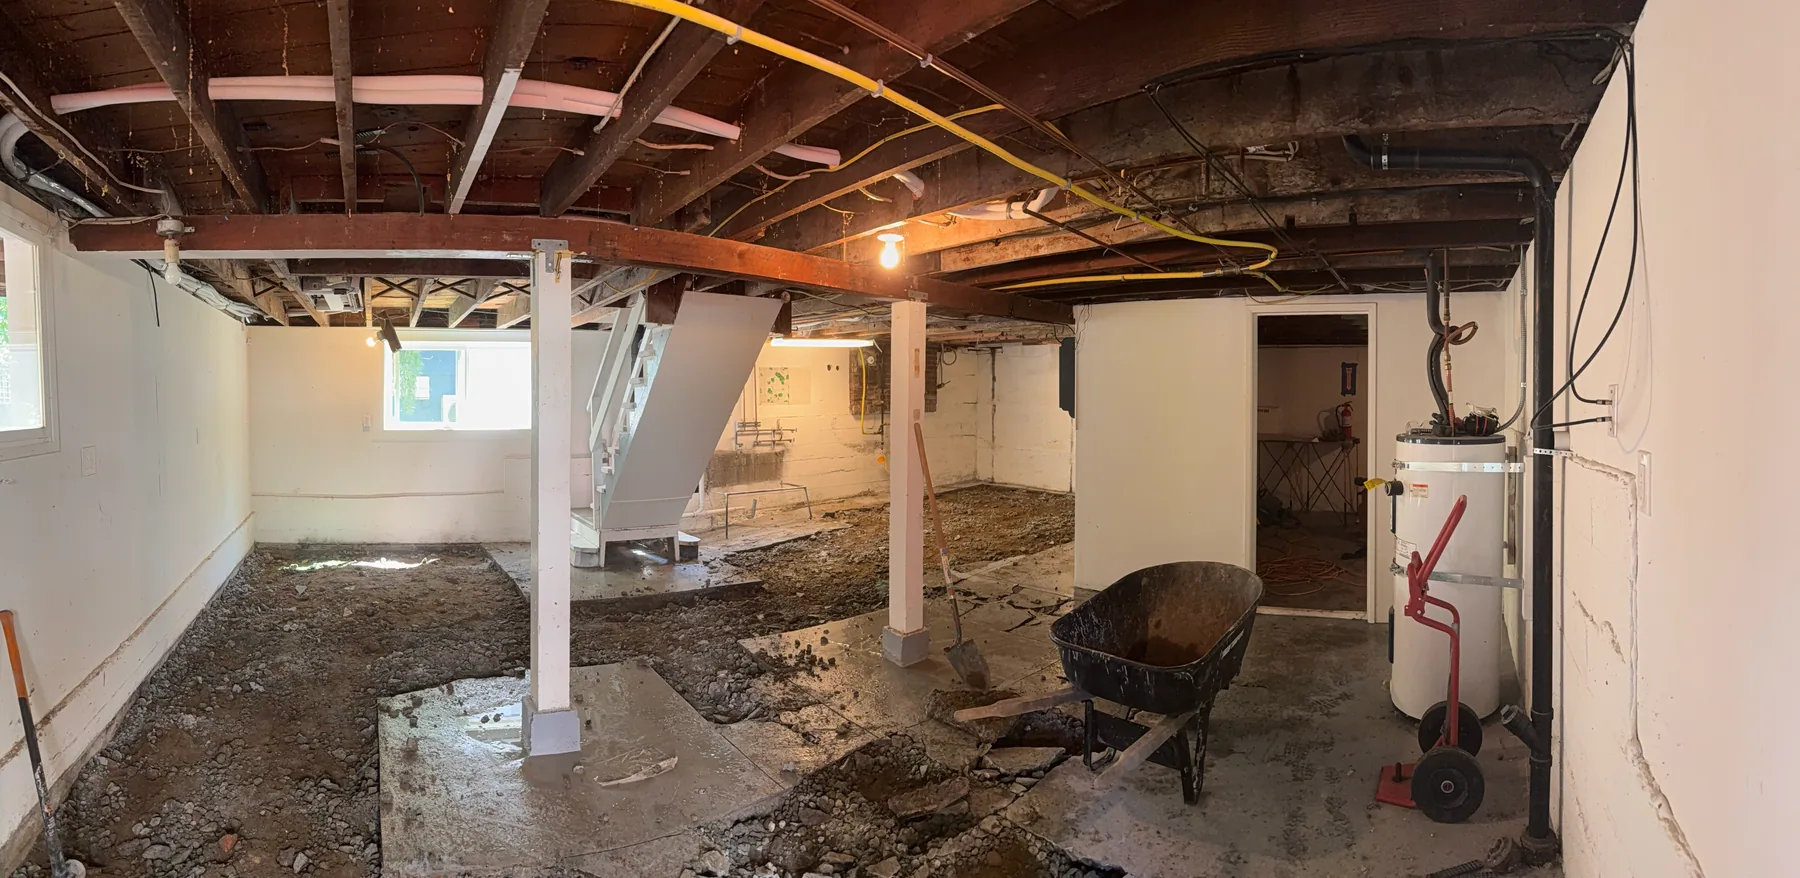
Basement floor opened in sections with loose concrete and a wheelbarrow in the work area
Concrete breakout
Wide basement view after most of the original concrete floor was removed
Work area cleared
Cut lines in the concrete beside cordless-tool batteries and a hand truck
Cuts and tools
Why this stage mattersThis phase exposes the area required for the approved basement work while preserving a visible record of how the original slab was removed.

03 · Temporary structural support

Support the house before the next work proceeds.

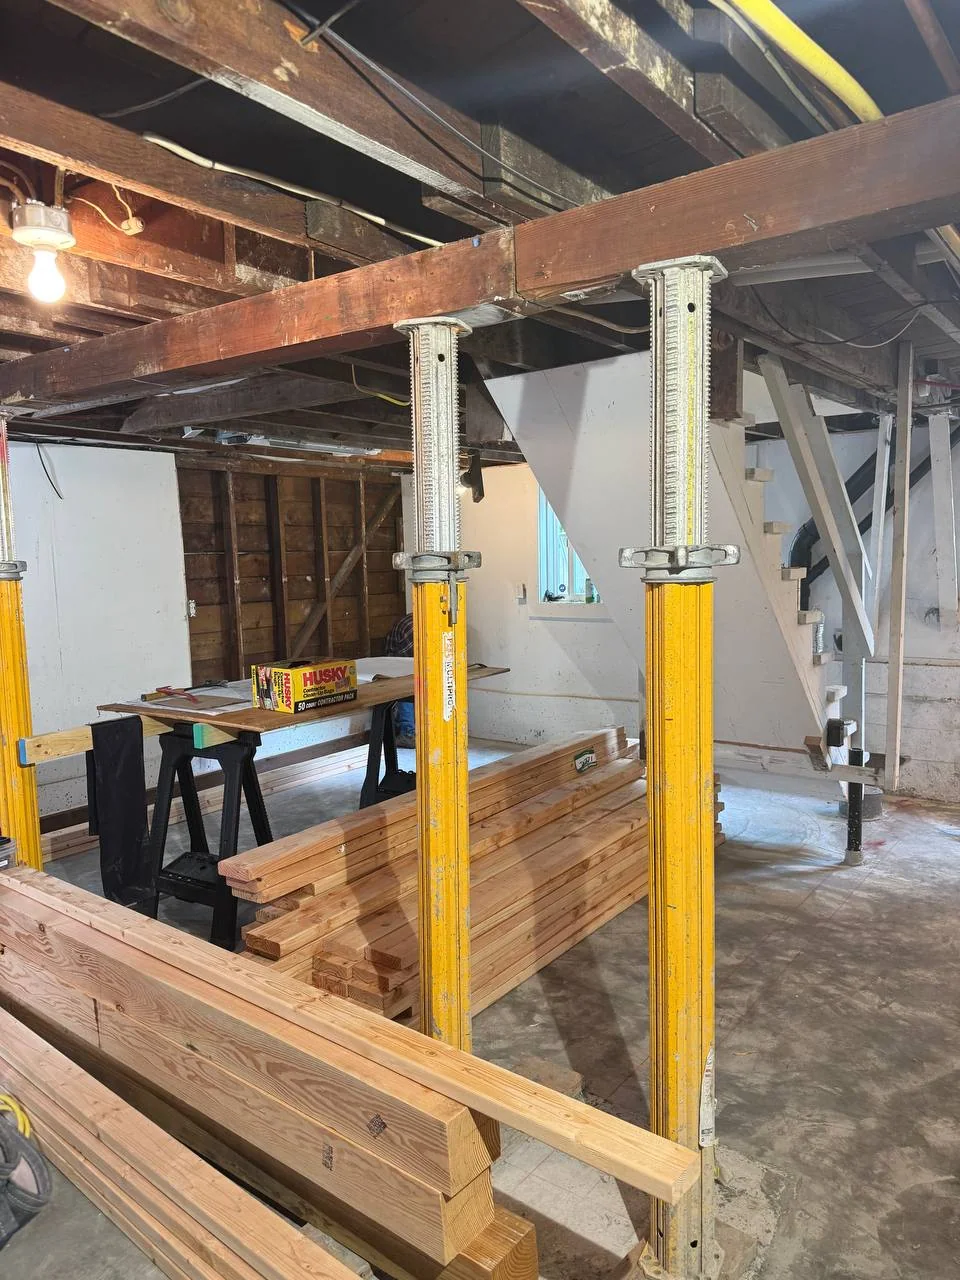
Yellow temporary posts remained in place while the floor was open and new dimensional lumber was staged. These photographs show the supported work area without making claims beyond the visible conditions.
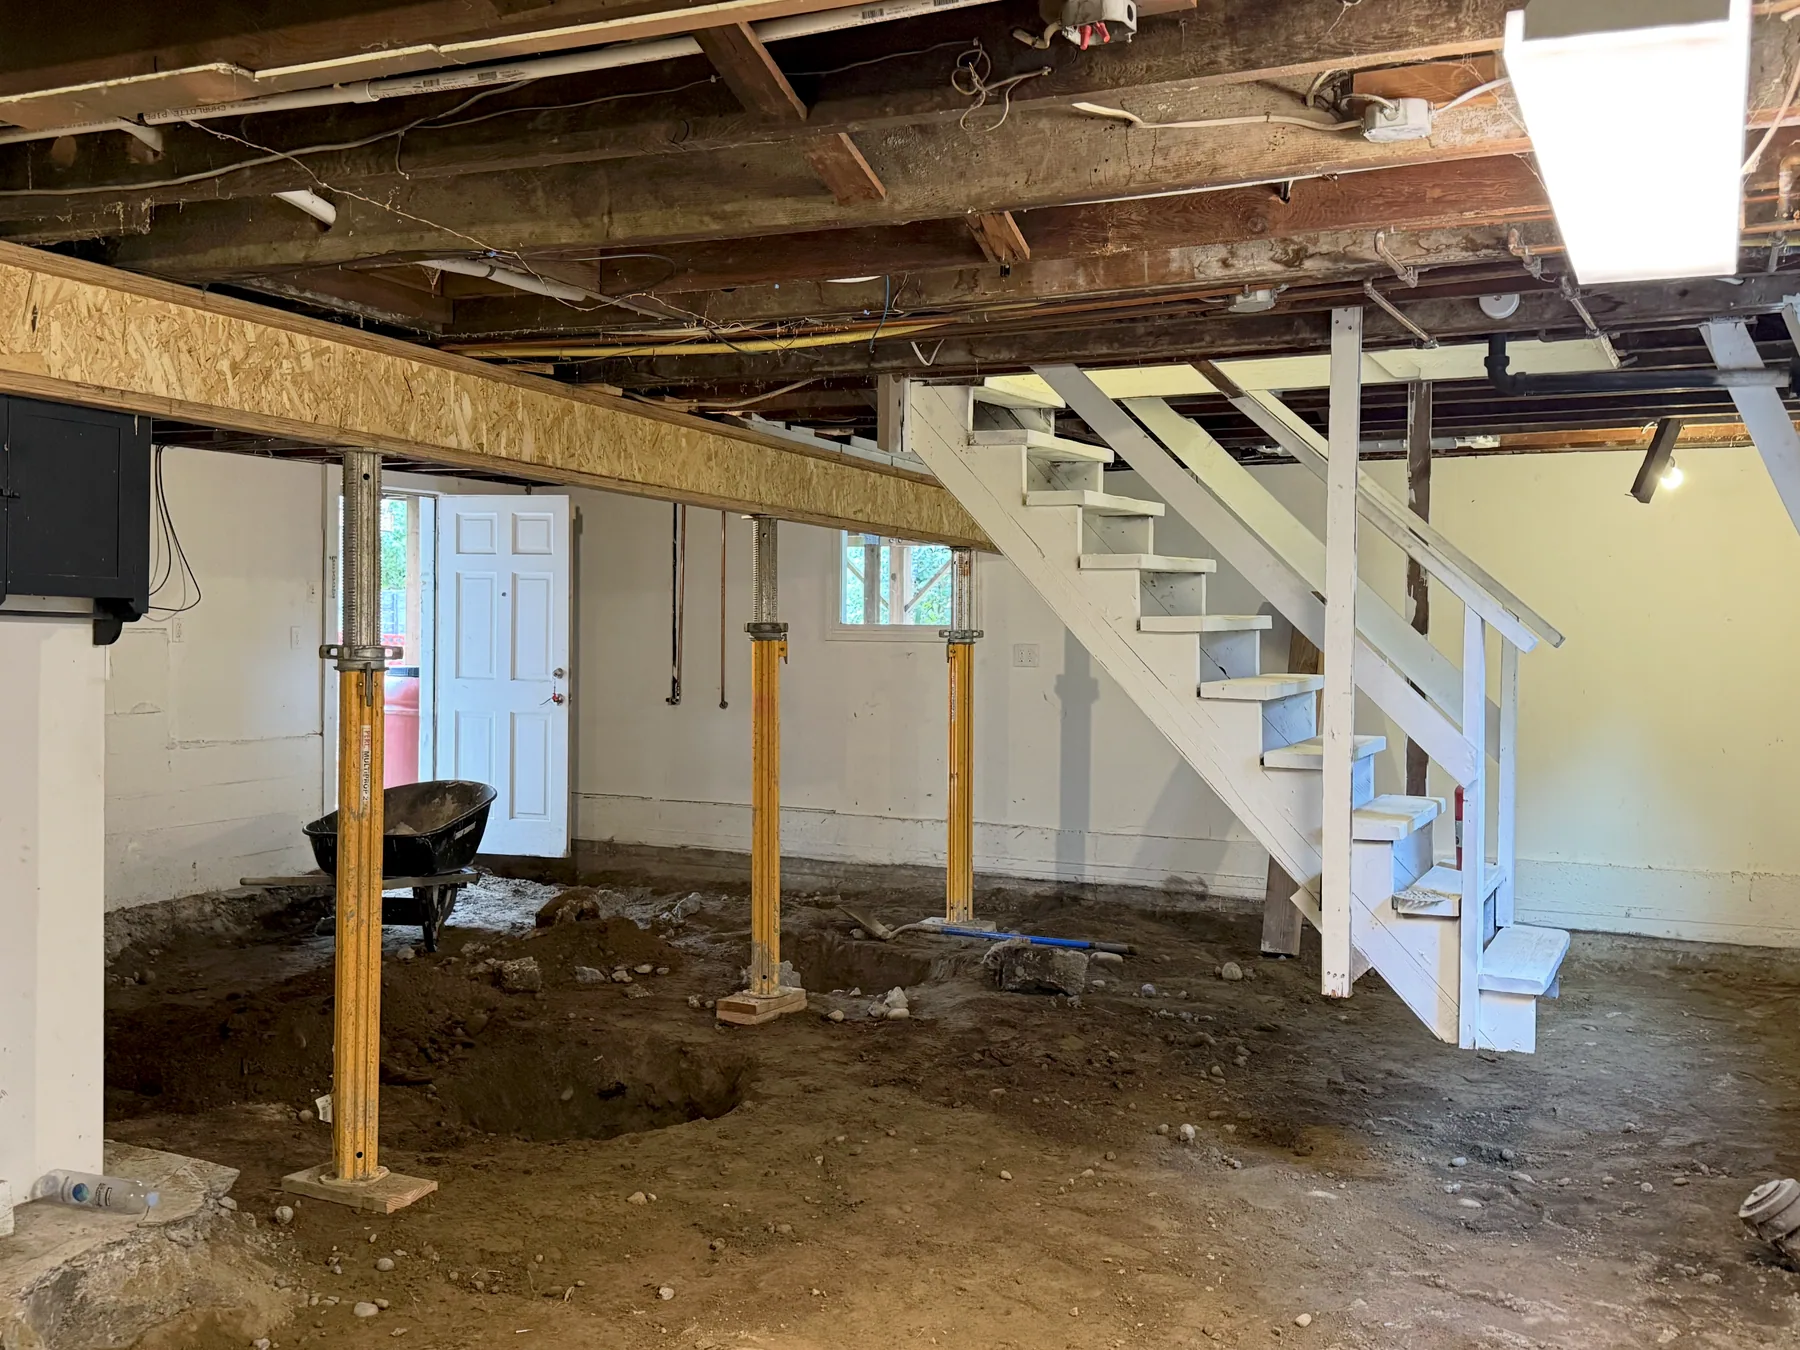
Basement with the concrete floor removed and yellow temporary support posts visible
Open floor and temporary supports
Yellow temporary supports, exposed ceiling framing and stacked dimensional lumber in the basement
Support and material staging
Why this stage mattersThe house must remain supported while the team coordinates the approved structural sequence and prepares the basement for the next phase.

04 · Sub-slab preparation

Prepare and insulate below the new floor.

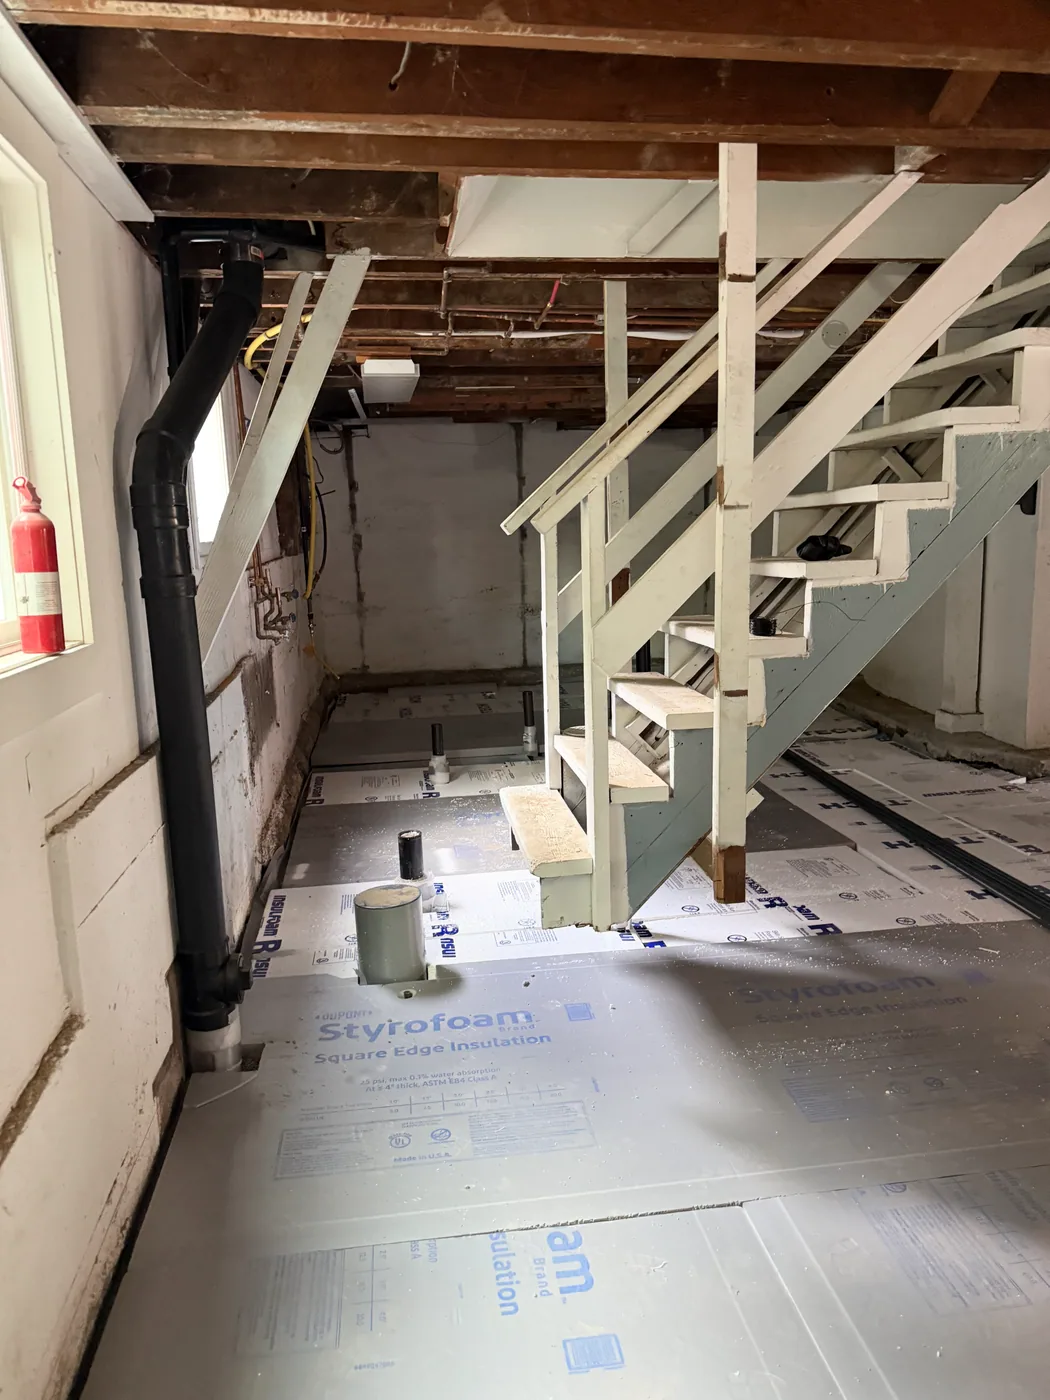
Rigid insulation panels were fitted across the prepared floor area and around the stair and visible penetrations before the new concrete slab was placed.
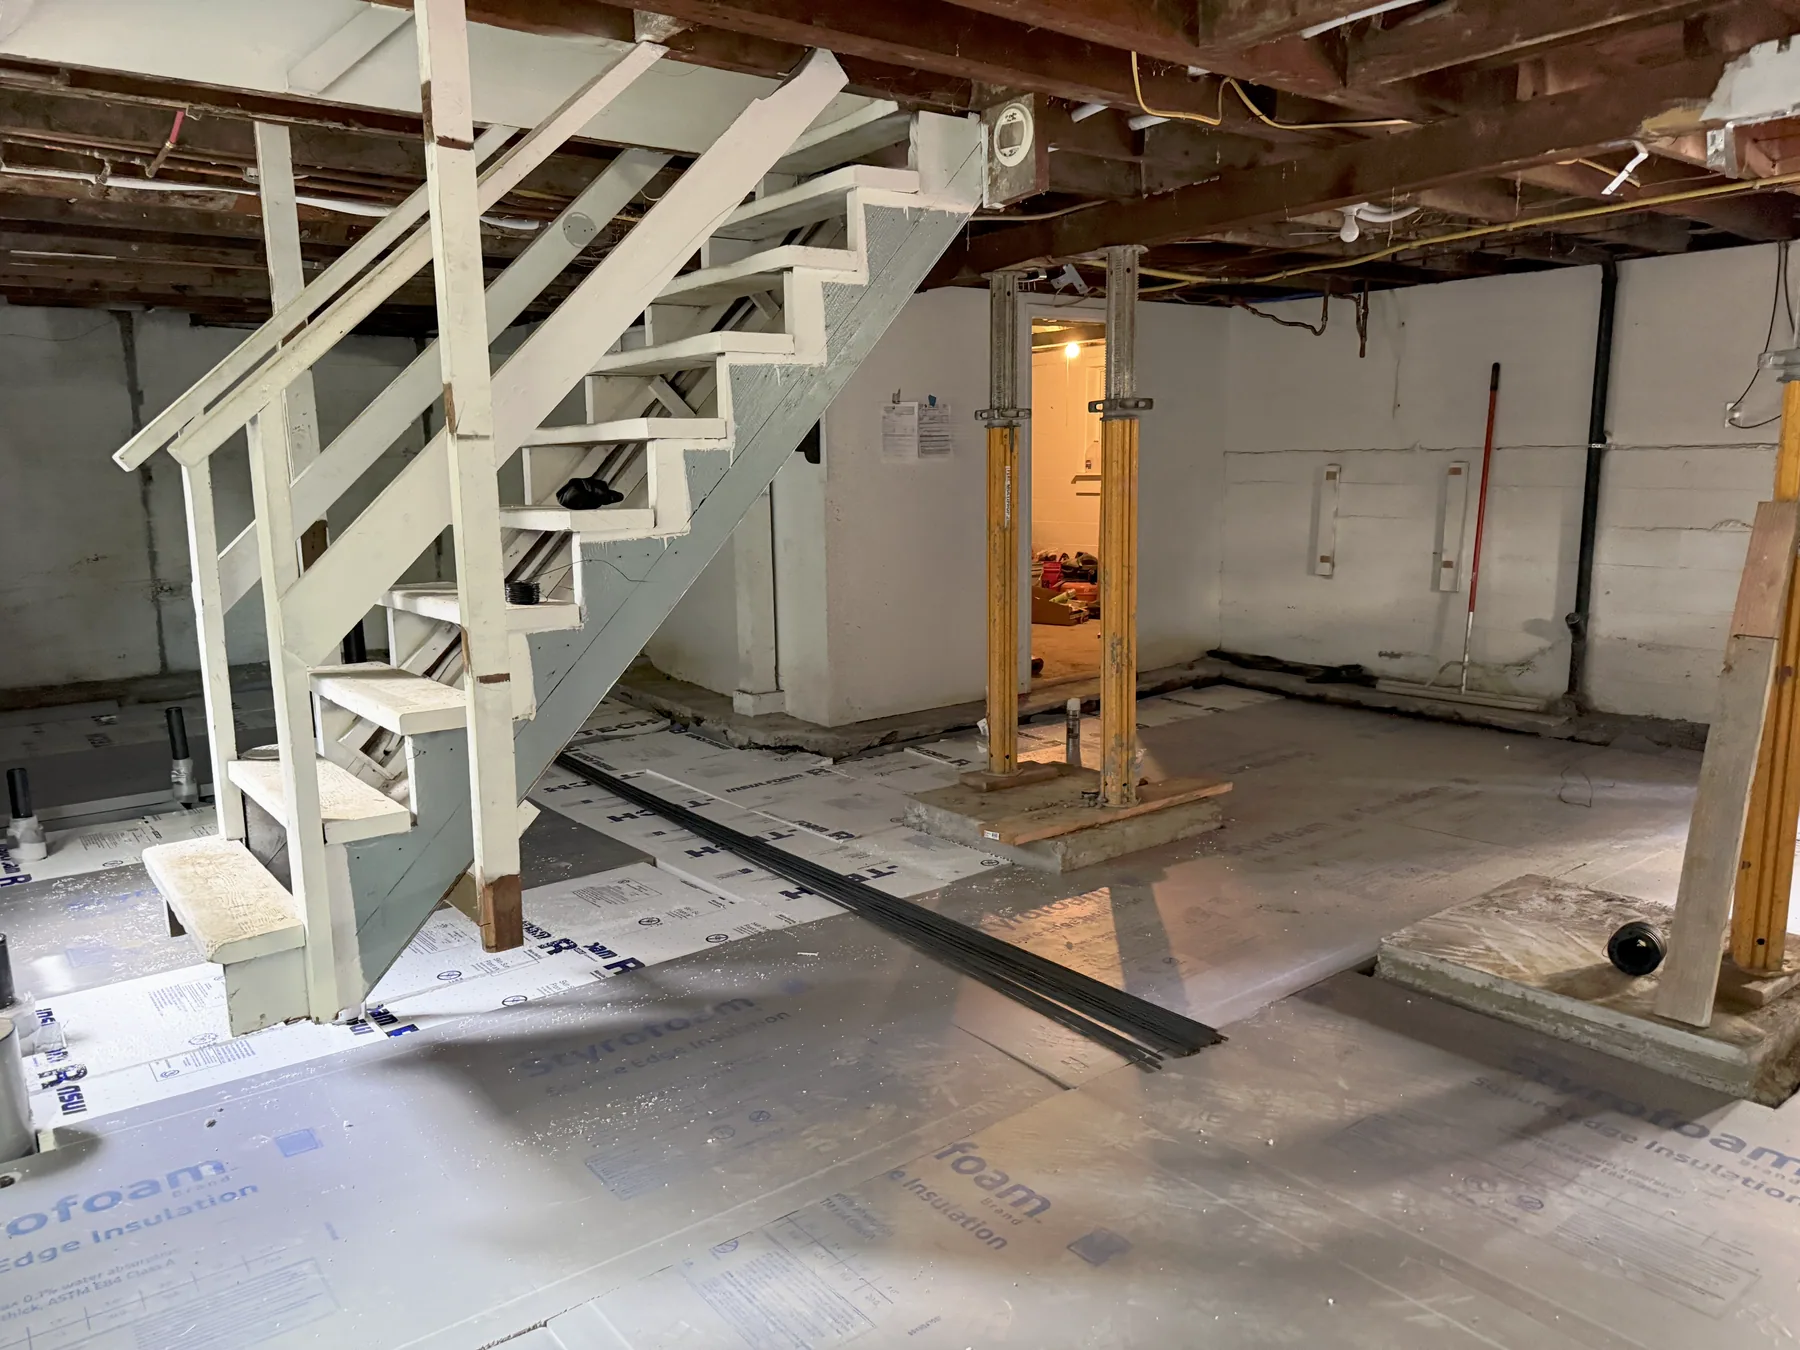
Wide basement floor covered with fitted rigid-insulation panels
Floor insulation overview
Rigid-insulation panels fitted around the basement stair and visible pipe penetrations
Stair and penetration details
Why this stage mattersThis is work that will disappear beneath the finished floor. Photographing it now preserves a clear record before the concrete conceals the assembly.

05 · New concrete slab

A continuous new floor takes shape.

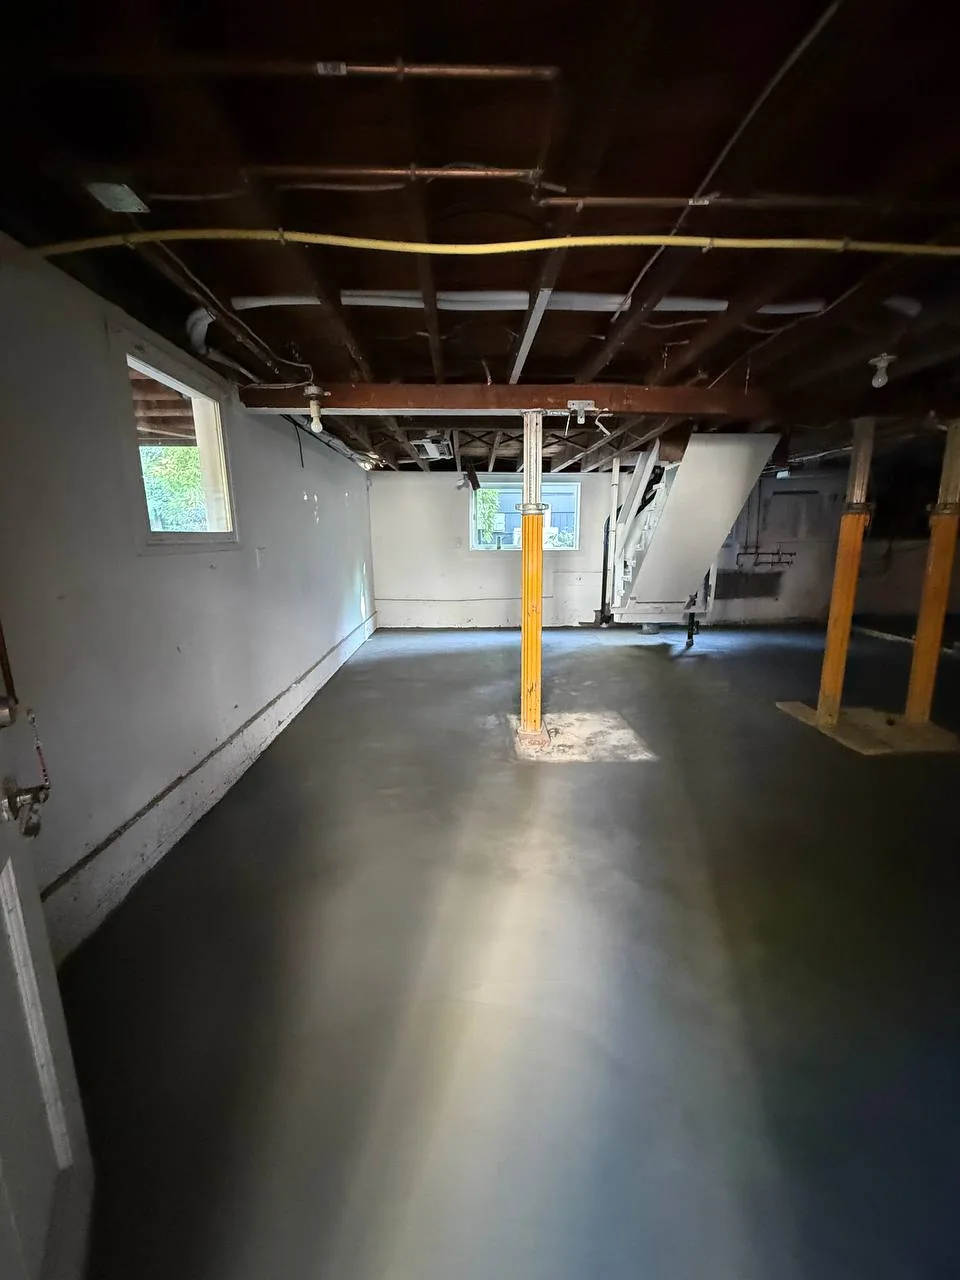
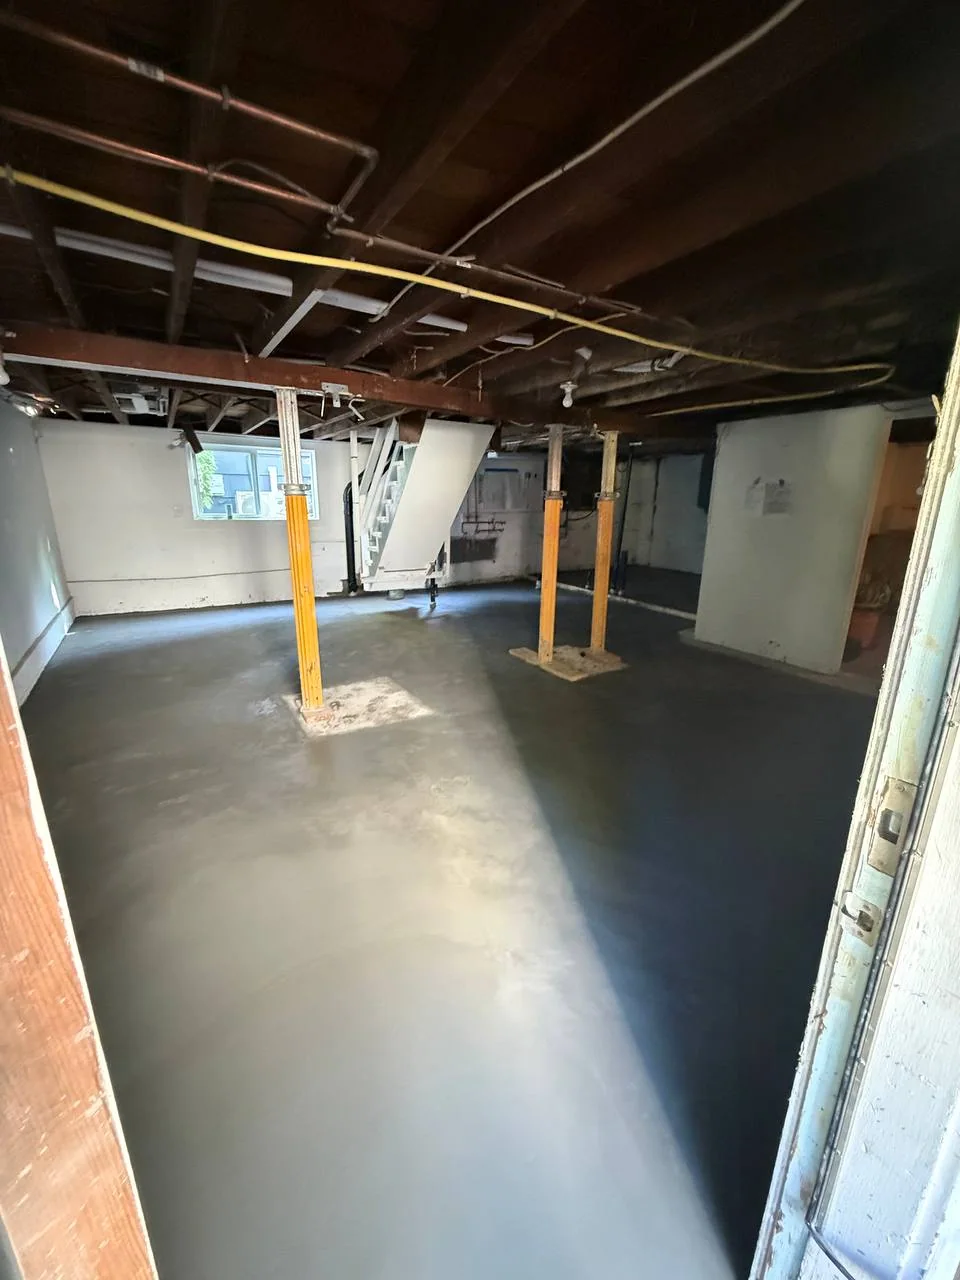
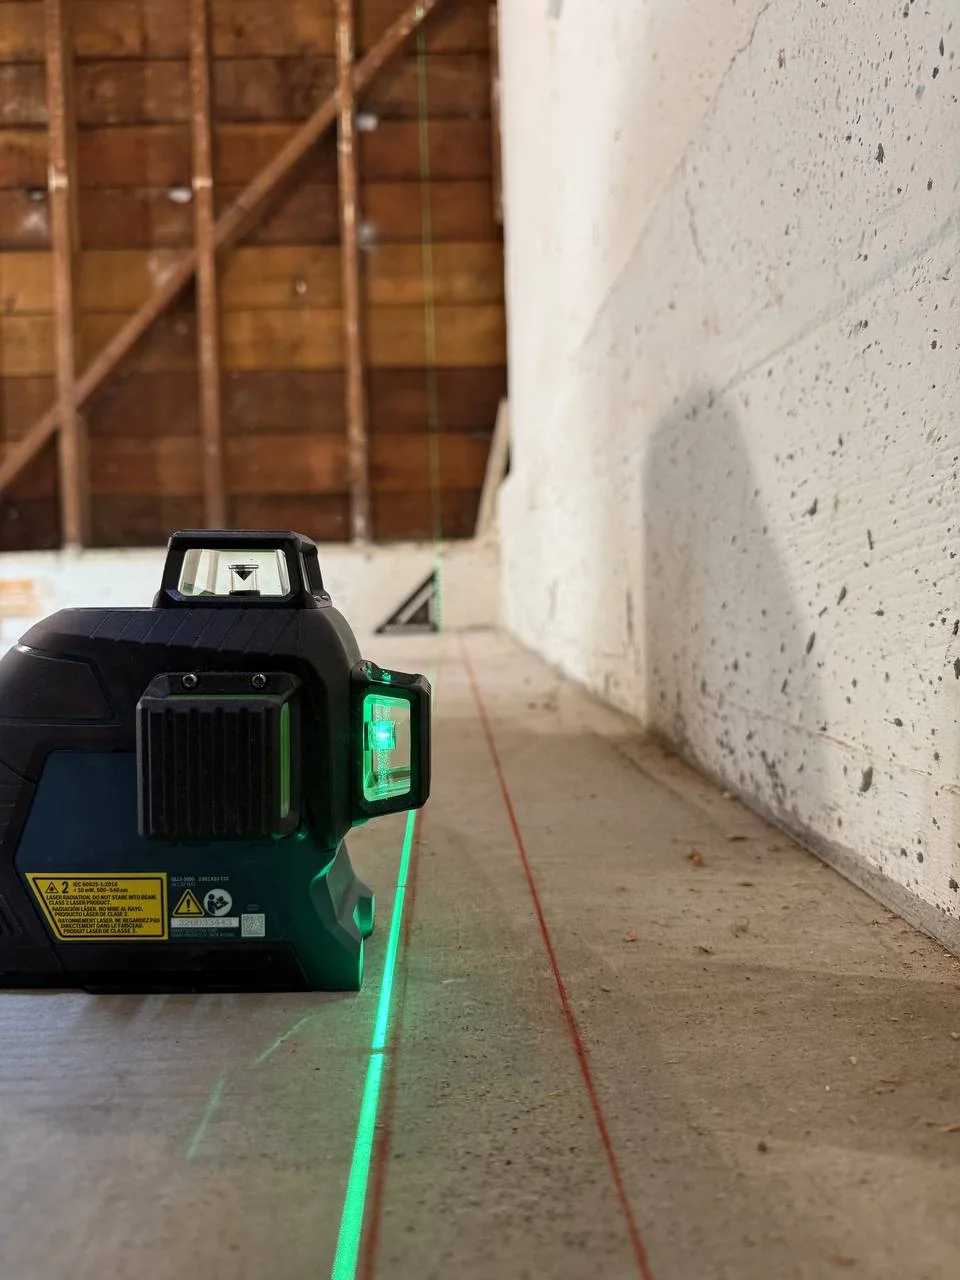
The next photographs document the newly placed concrete floor from the main work area, the stair side and the basement entry. A construction laser records a field layout check across the finished surface.
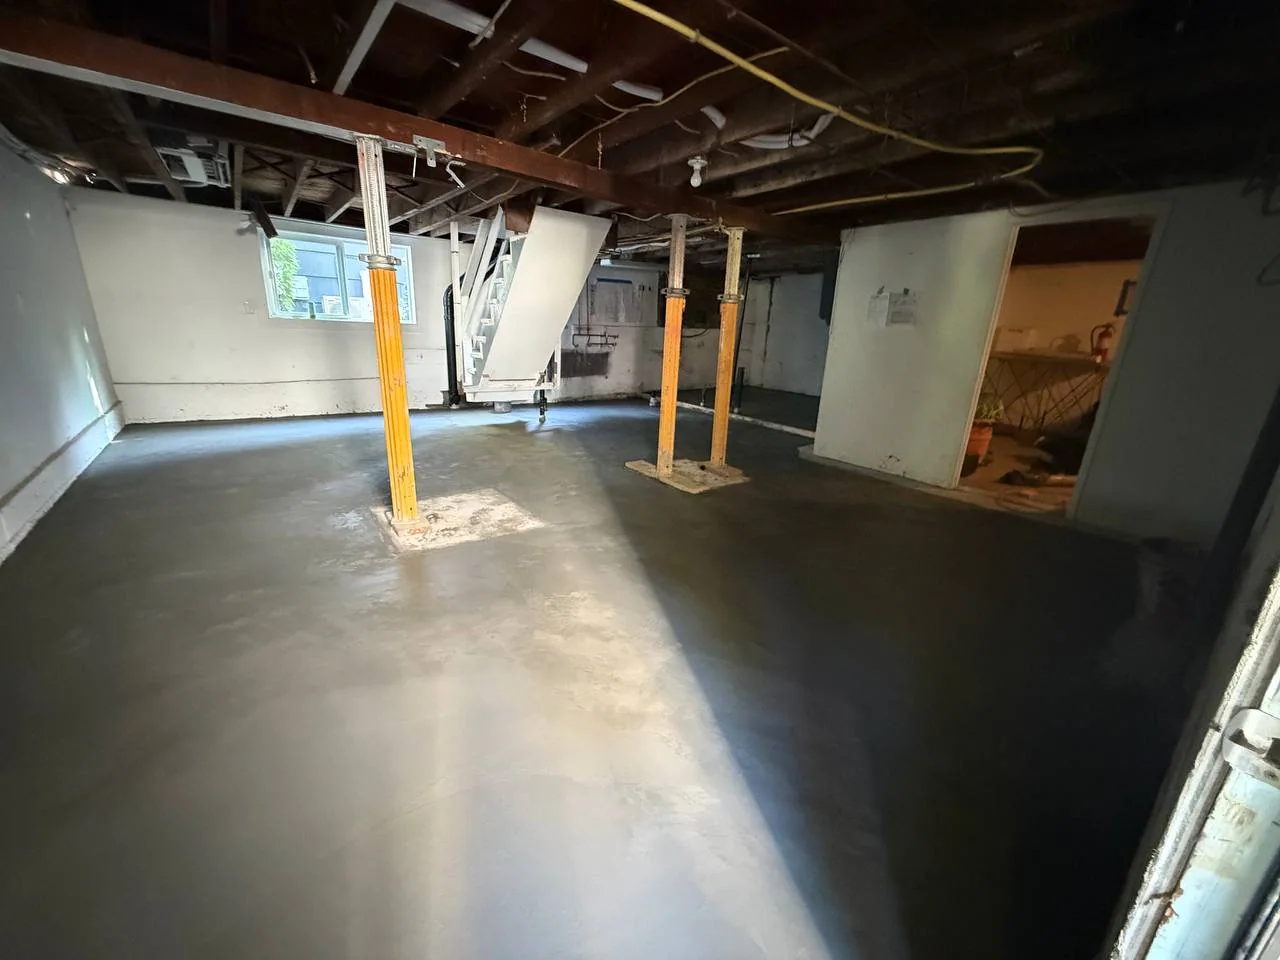
Wide basement view with a smooth newly placed concrete floor and temporary support posts
New slab overview
Green construction laser projecting a reference line across the new basement slab
Field layout check
Lengthwise basement view showing the new concrete floor beneath exposed framing and temporary supports
Lengthwise slab view
Basement entry view showing the new concrete floor around temporary support posts
Entry-side slab view
Why this stage mattersThe new slab creates the clean working surface that later wall layout and interior construction build from.

06 · Exterior-wall insulation

Document the perimeter before walls conceal it.

Rigid-foam insulation covers the exterior concrete foundation walls. The sequence follows the long wall, stair area and active work zone before the developing wall layout conceals the assembly.
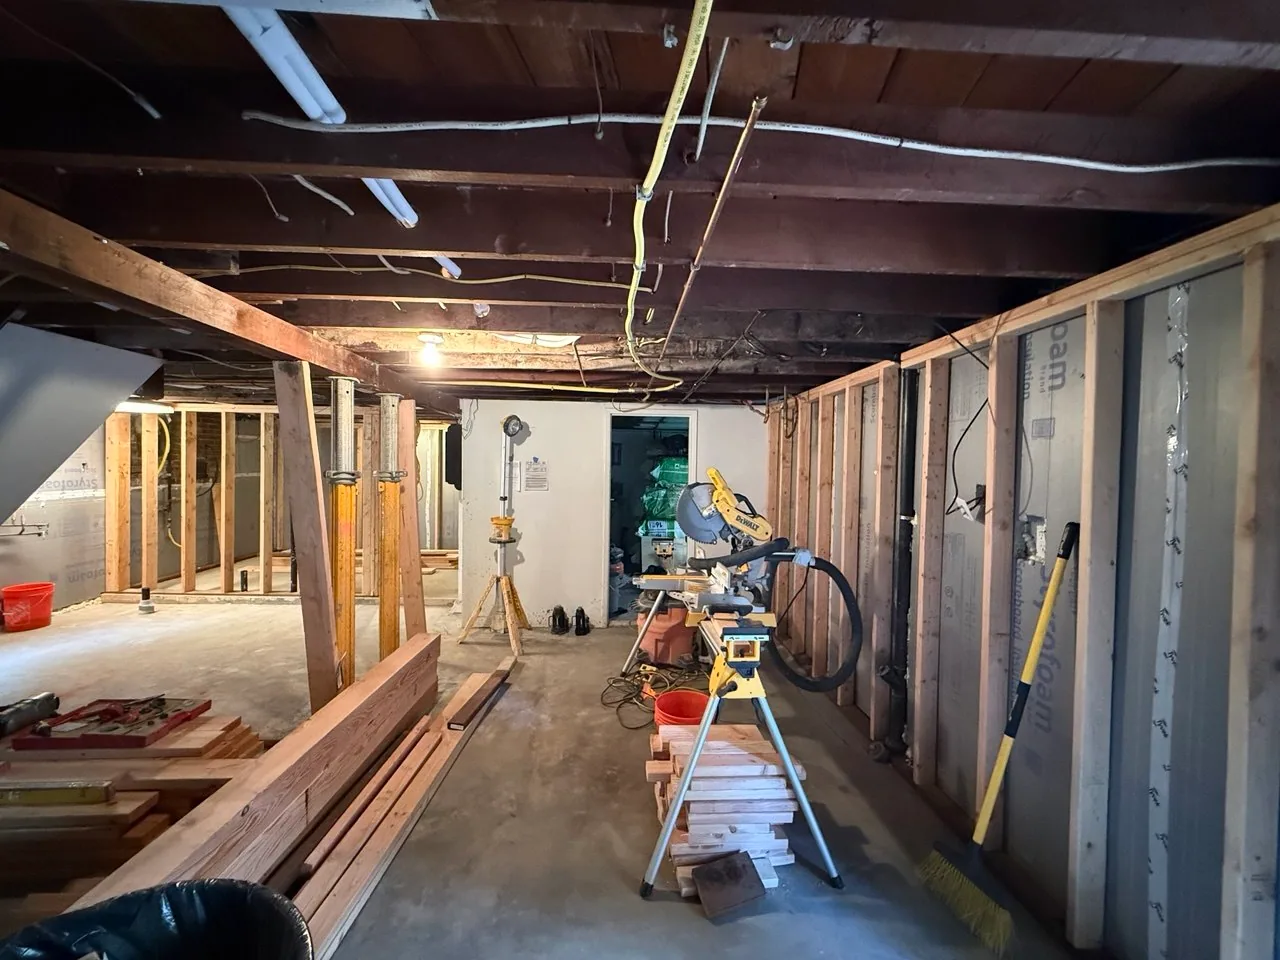
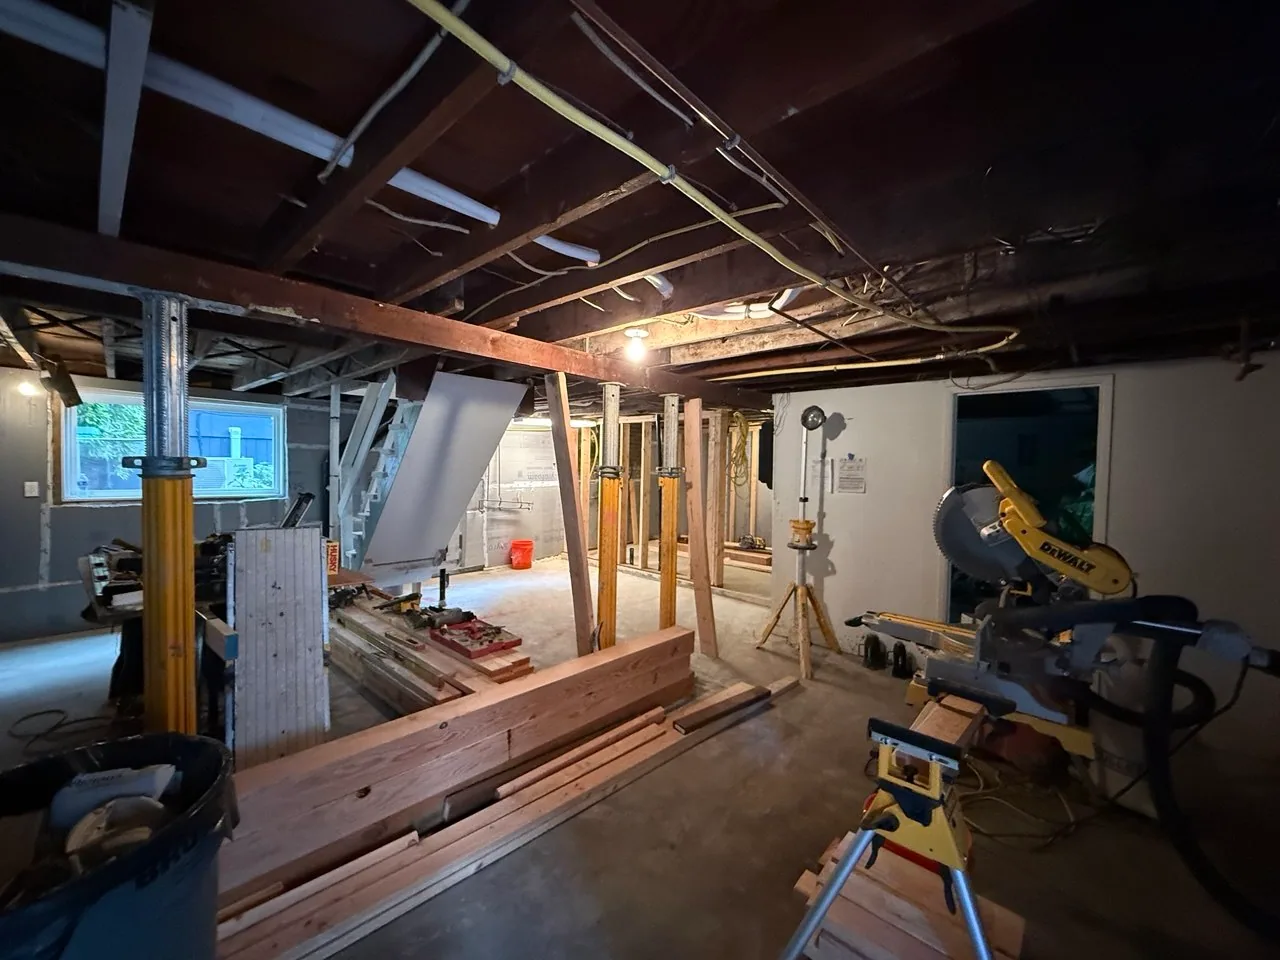
Pink rigid-foam insulation installed against basement exterior concrete walls beside new wood framing
Perimeter insulation overview
Long foundation wall covered with sealed rigid-foam insulation behind furring and framing
Long exterior wall
Basement stair area with rigid-foam perimeter insulation and new wood framing
Stair-side wall
Insulated basement perimeter behind temporary supports, exposed utilities and new framing
Insulated work area
Why this stage mattersThese images preserve visible coverage and transitions around the perimeter while the wall system remains open for review.

07 · Framing

The basement rooms become understandable.

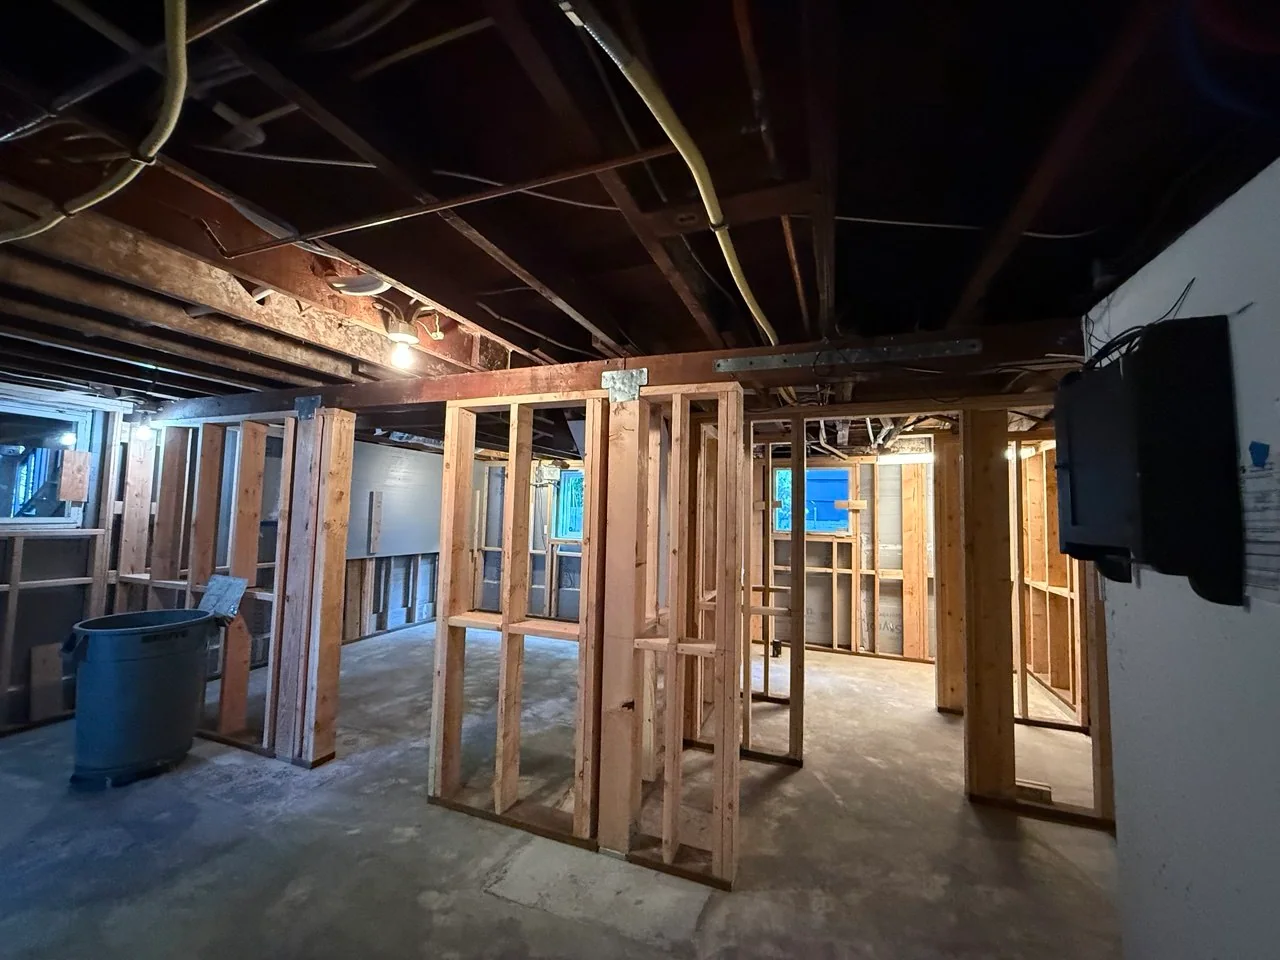
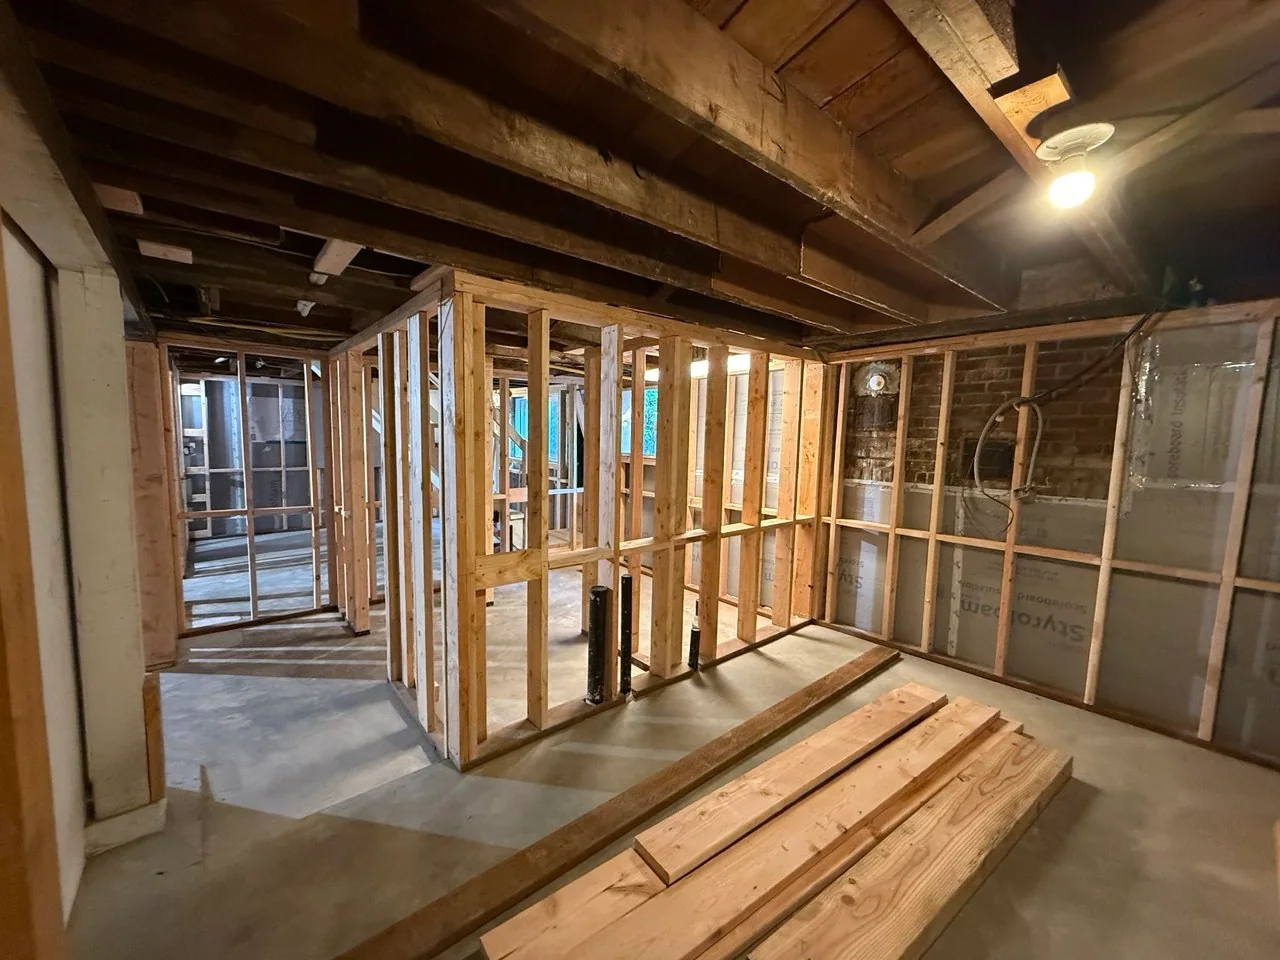
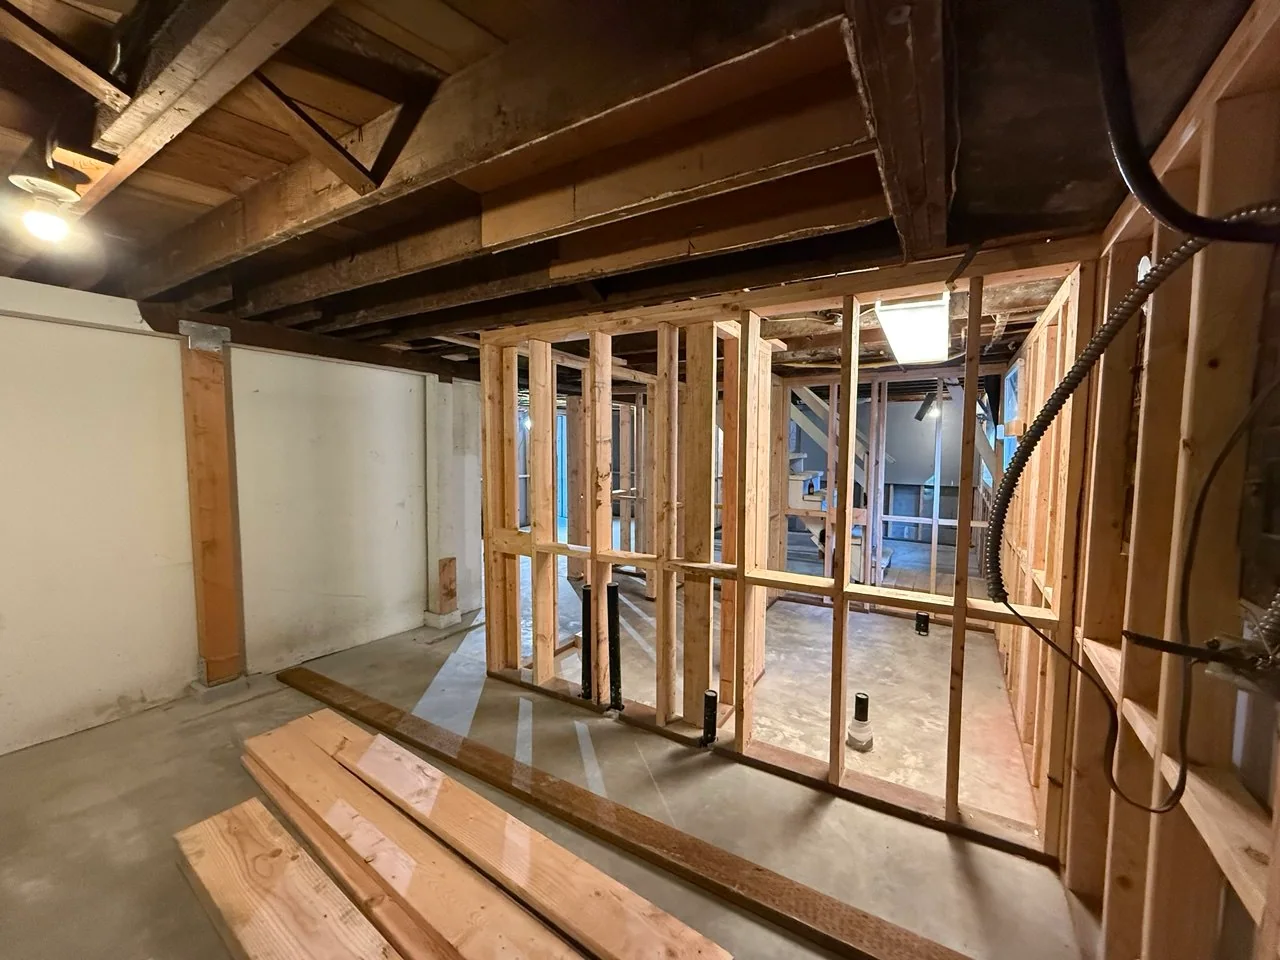
The first views show partition walls developing around circulation and visible plumbing locations. The remaining photographs document the completed framing layout, room openings and service areas before rough-in work begins.
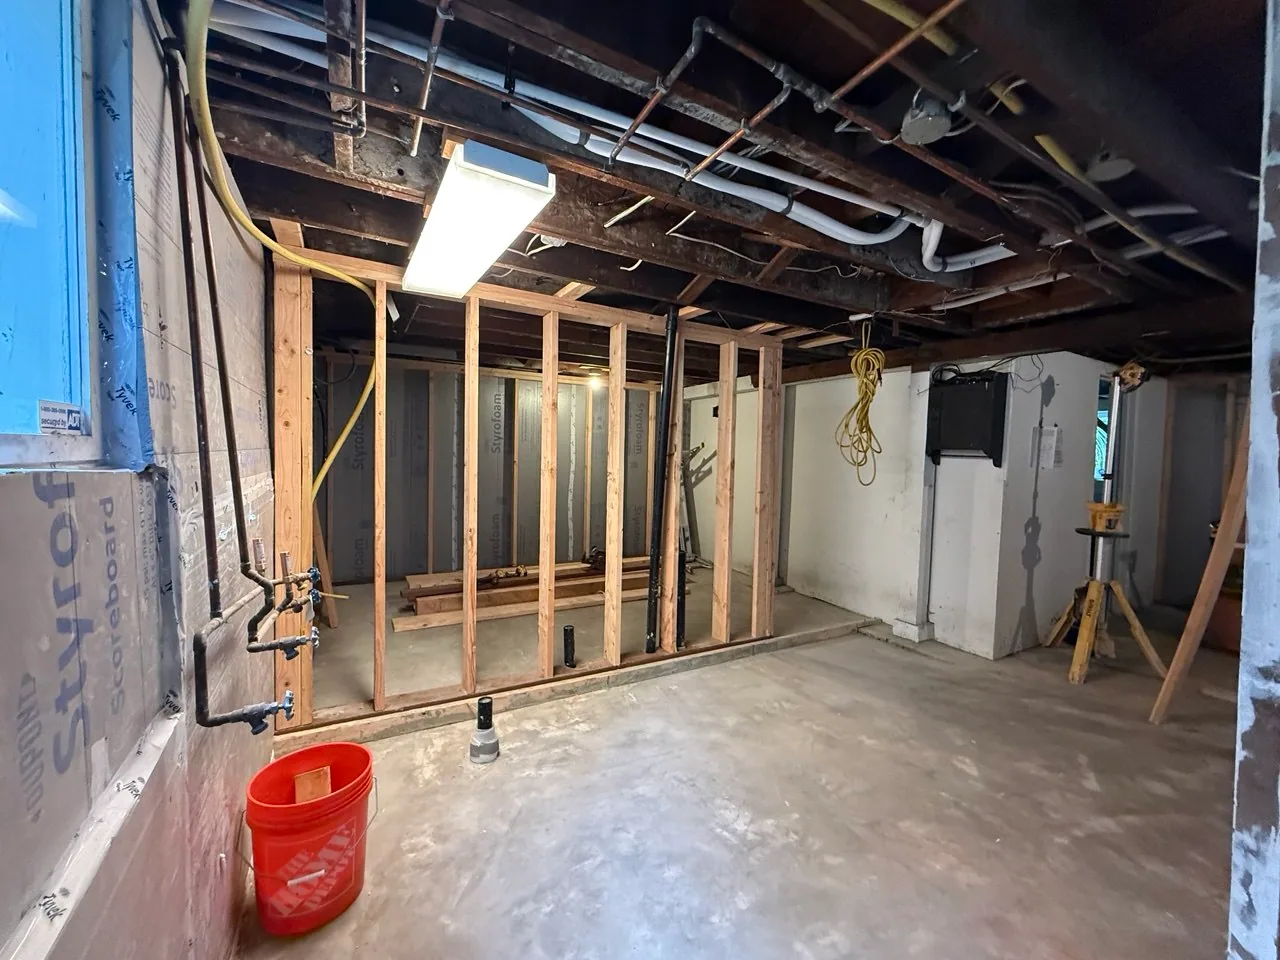
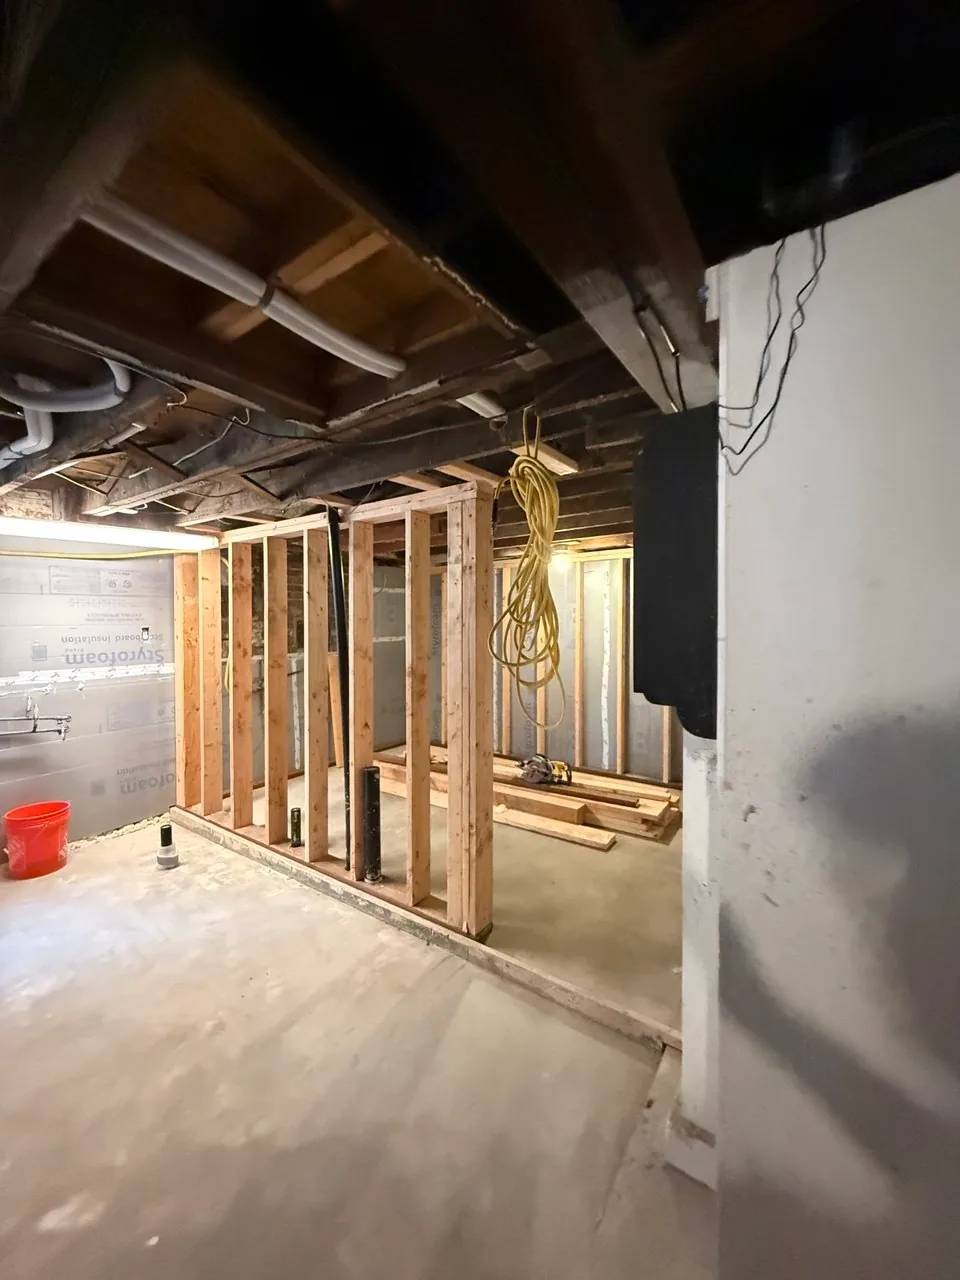
New partition-wall framing arranged around black plumbing stubs in the concrete floor
Plumbing layout framing
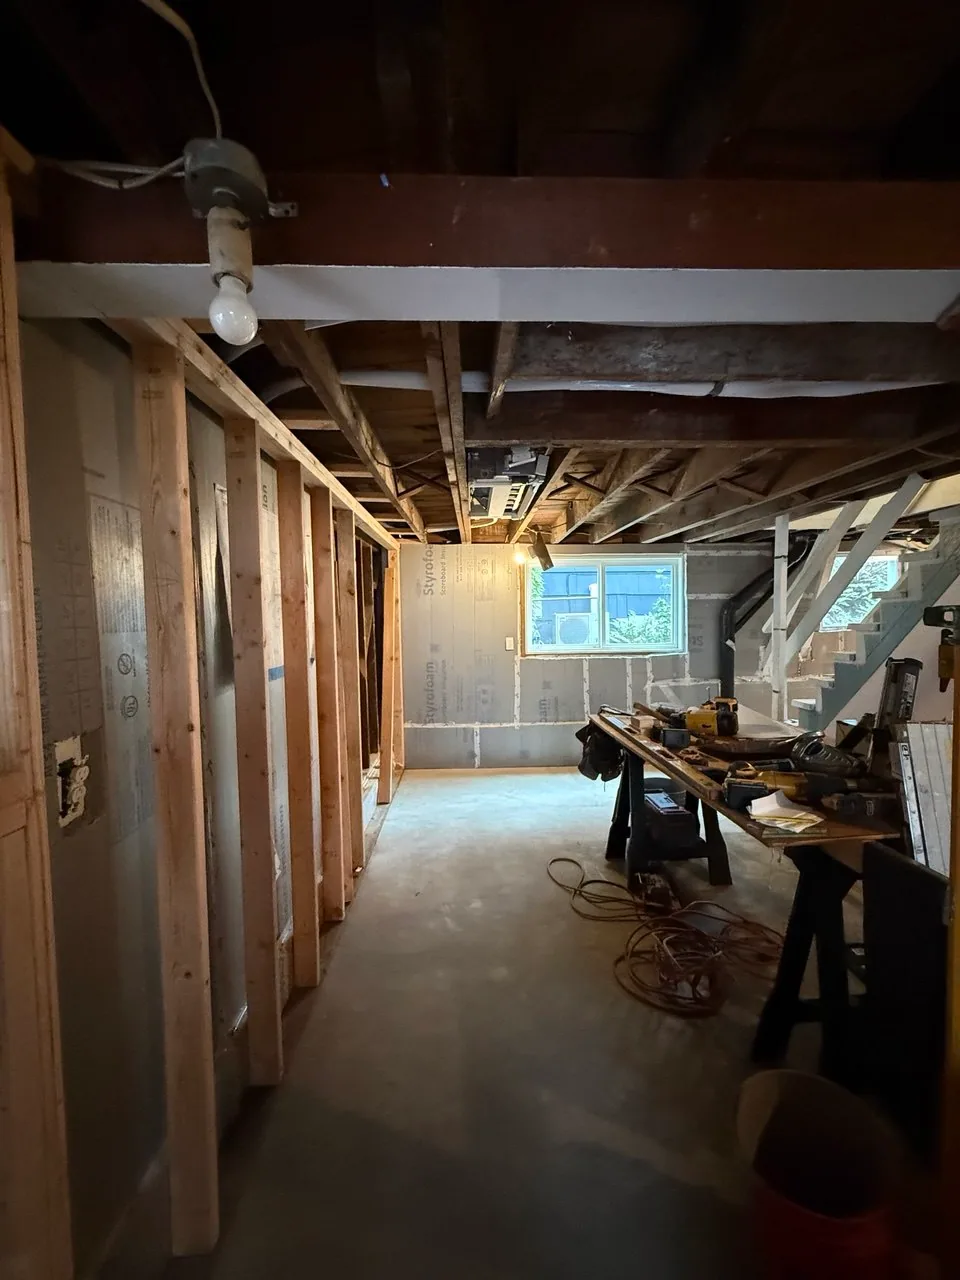
New basement partition framing forming a corridor beside an insulated foundation wall
Interior circulation
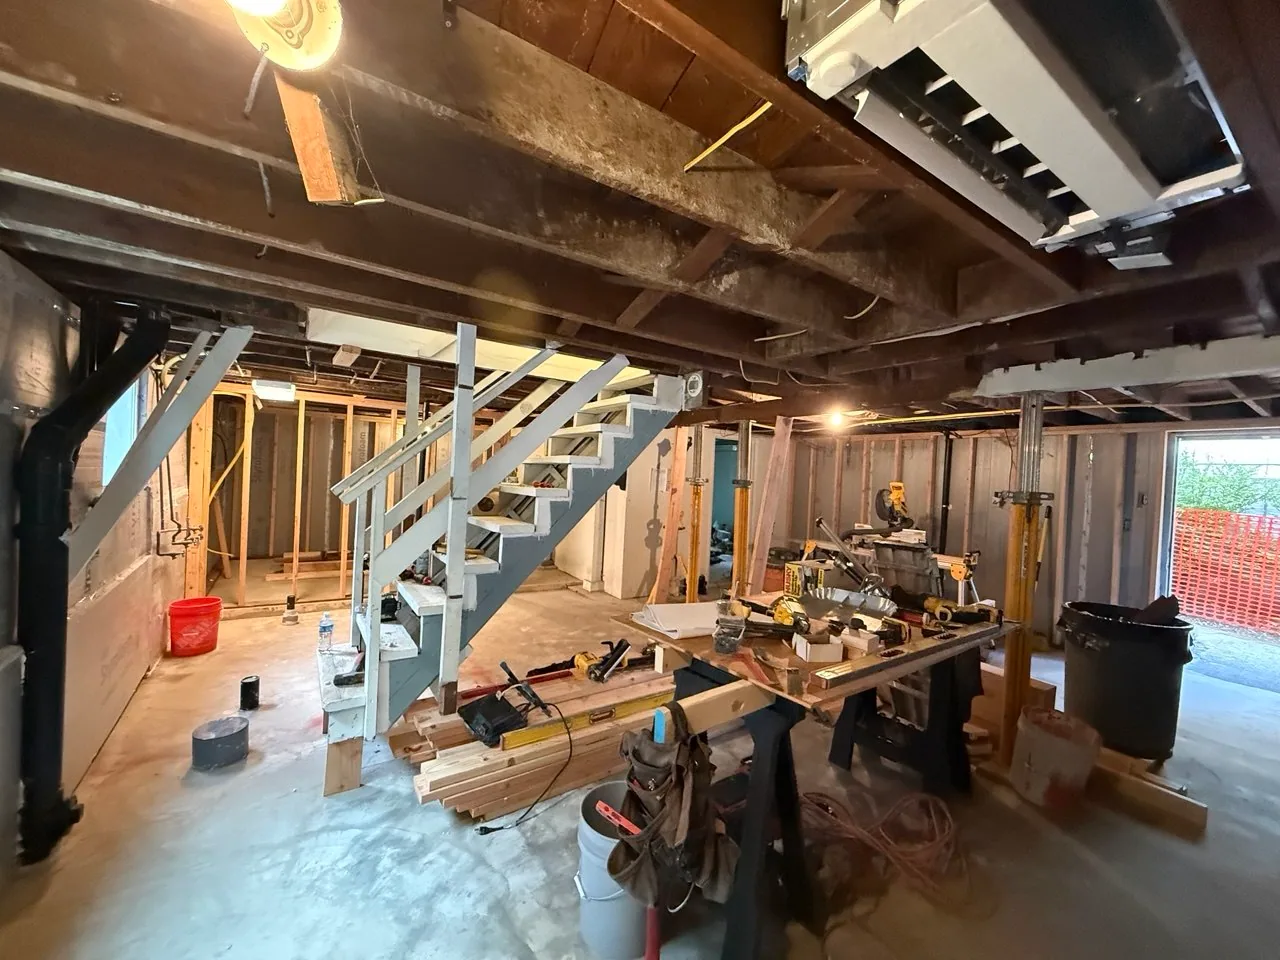
Active framing area with new partition walls, staged lumber and temporary support posts
Active framing area
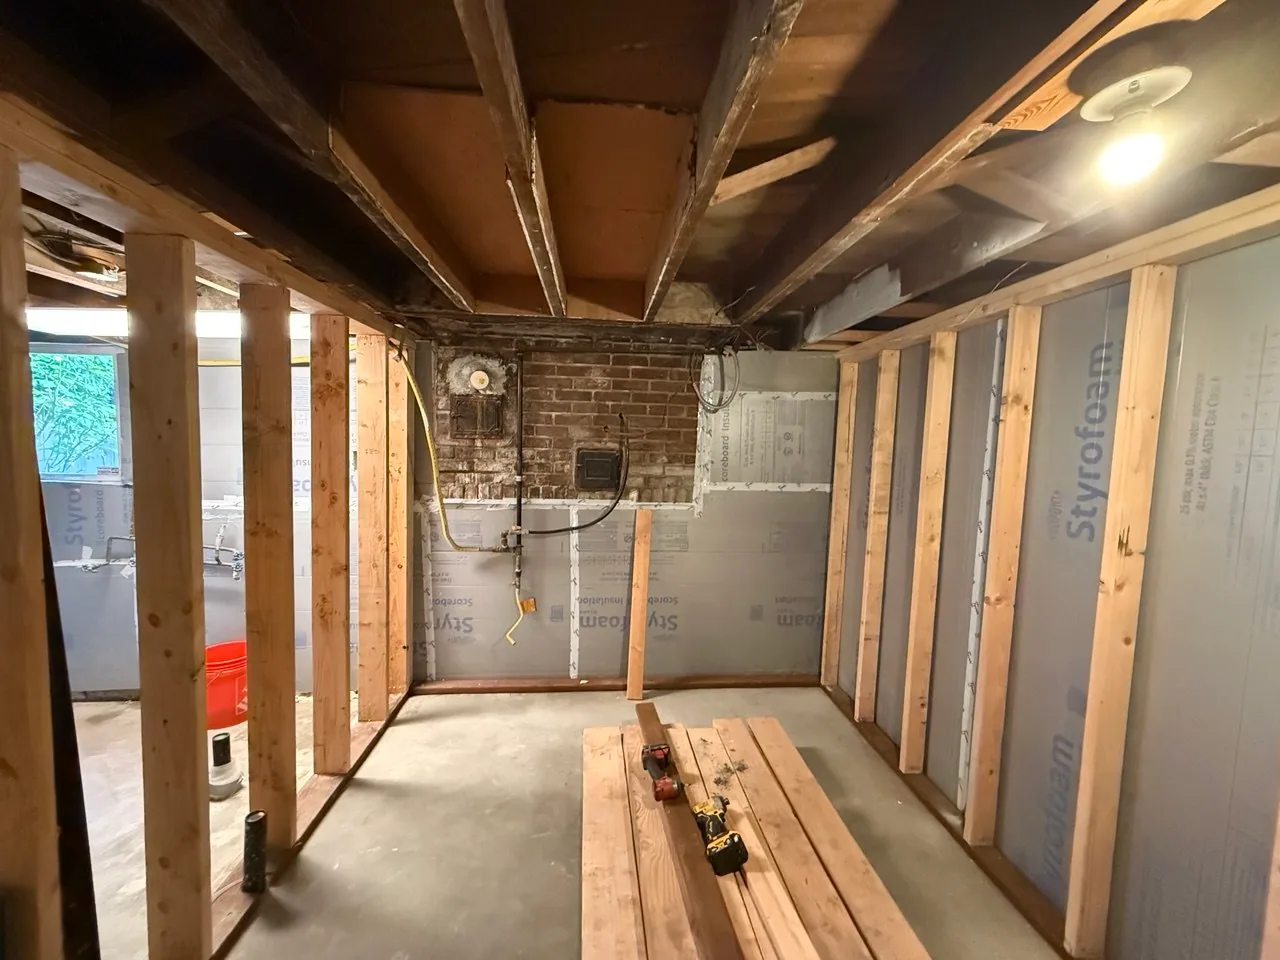
Newly framed room beside rigid-foam insulation and an existing brick masonry section
Room definition
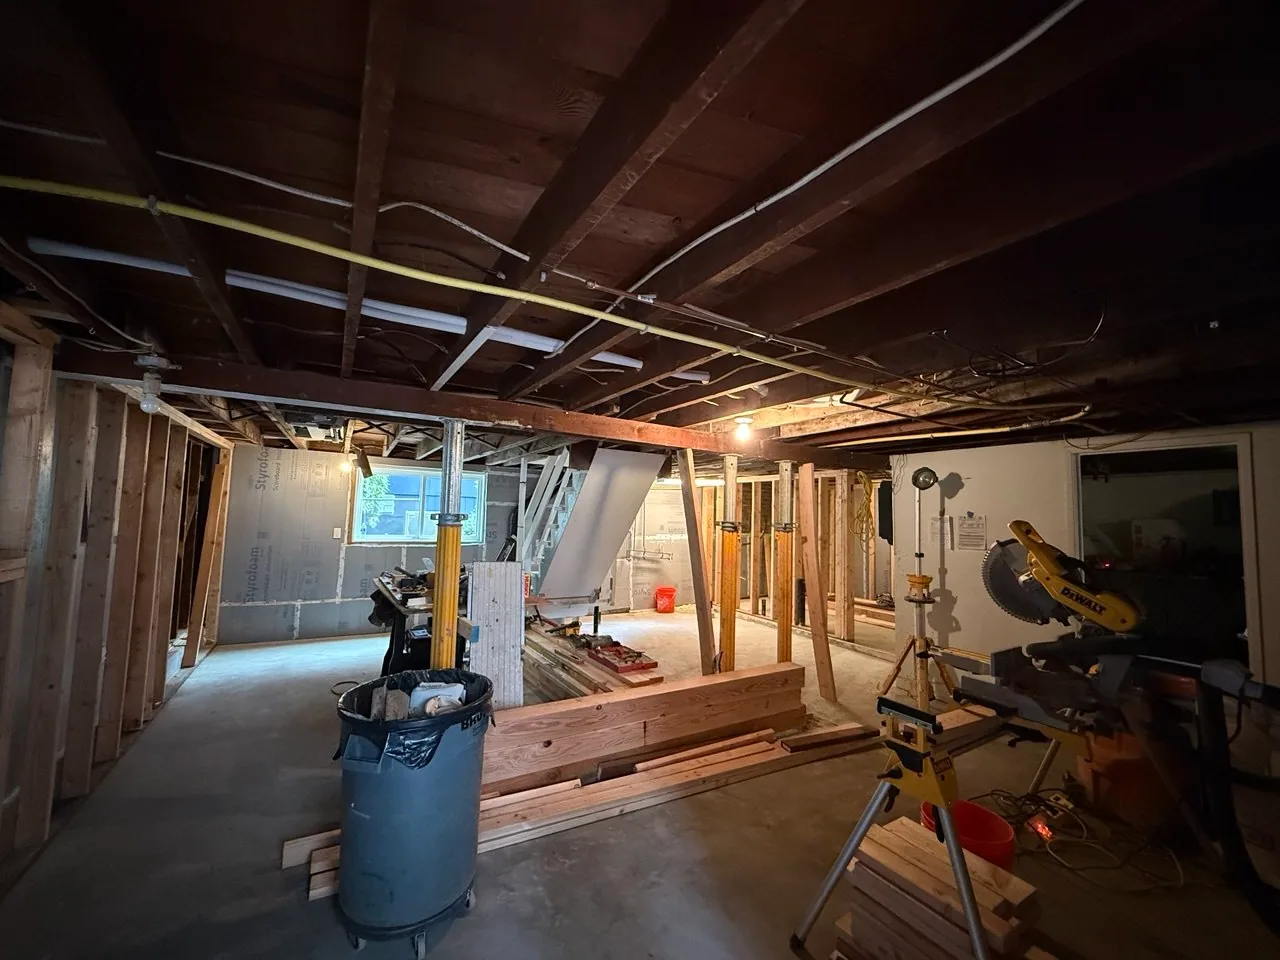
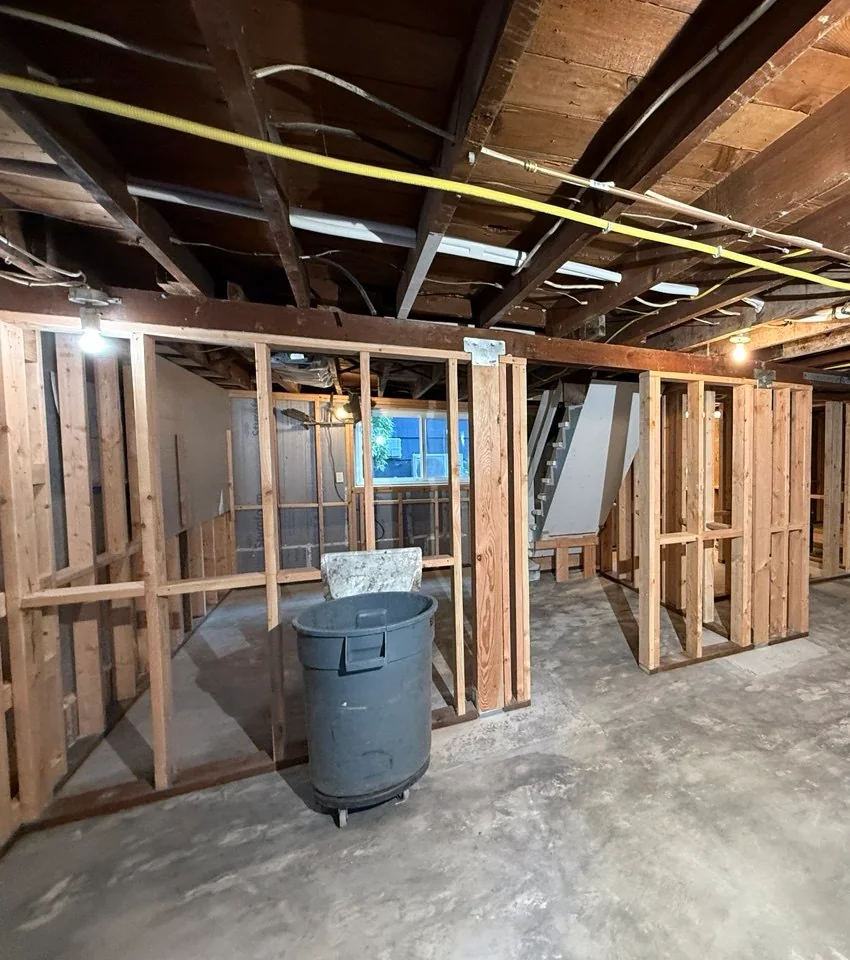
Wide basement view showing completed interior partition framing beneath open ceiling joists
Completed framing overview
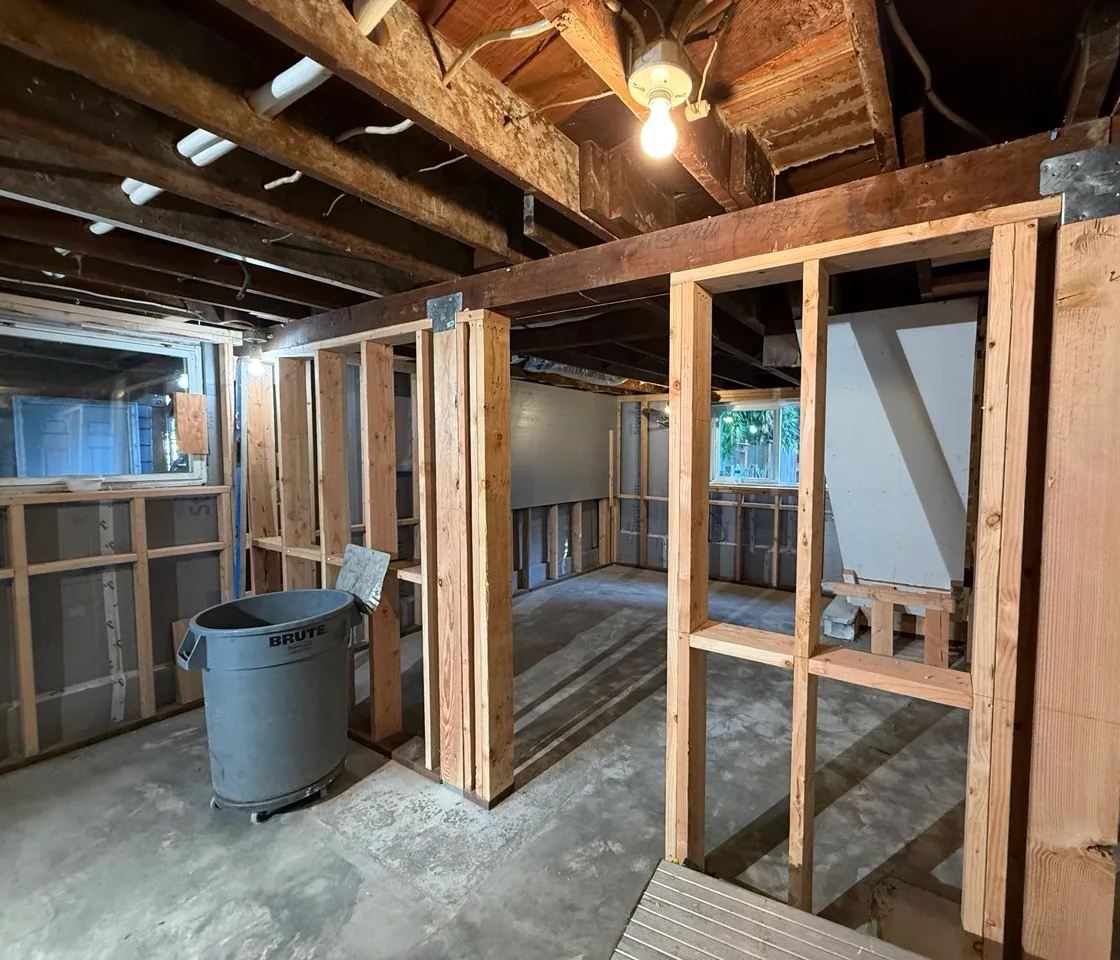
Completed basement wall framing forming room openings beside the smooth concrete slab
Main room
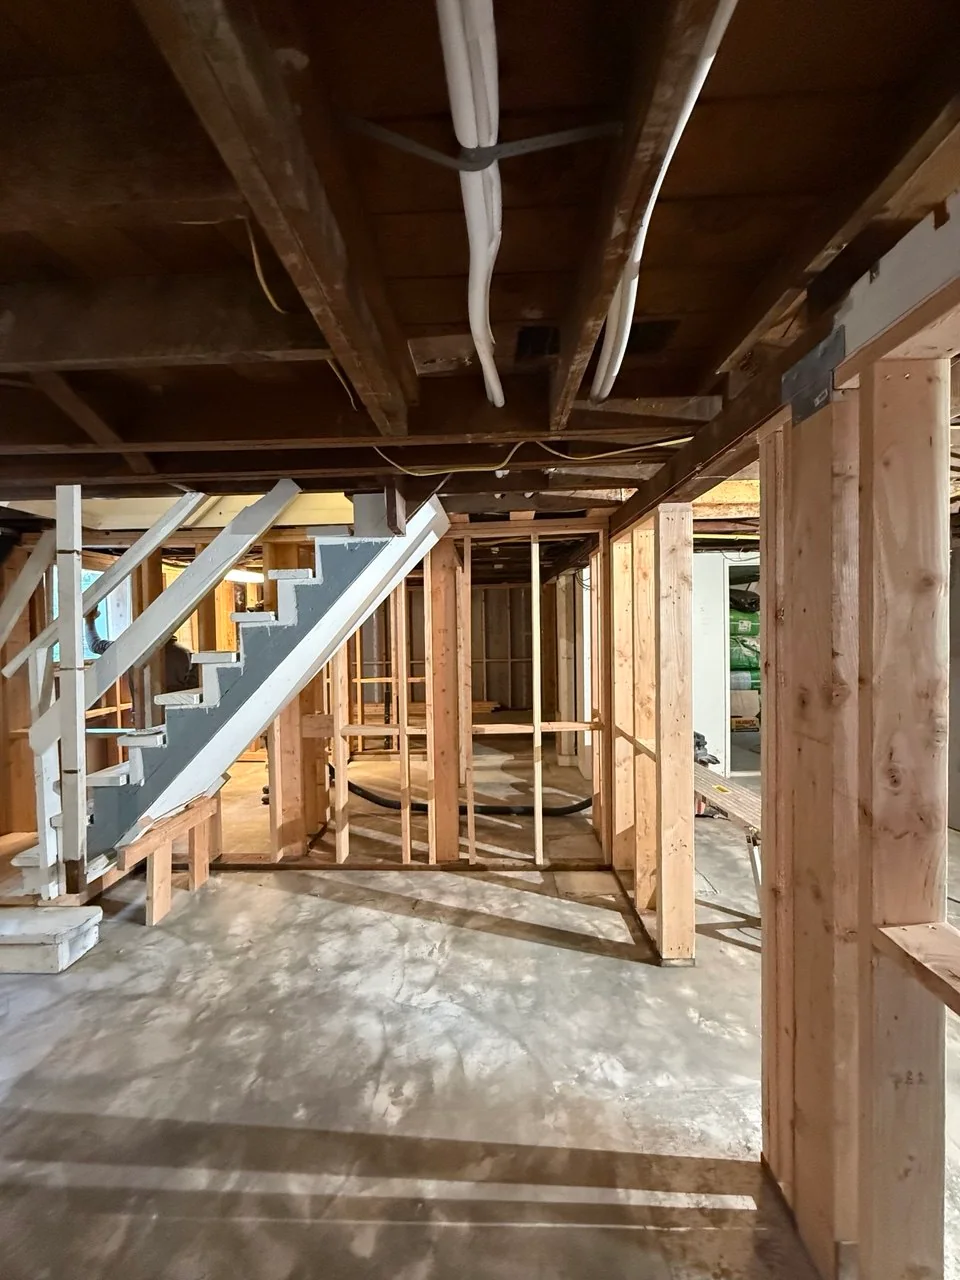
Completed partition framing viewed toward the existing basement stair
Stair-side framing
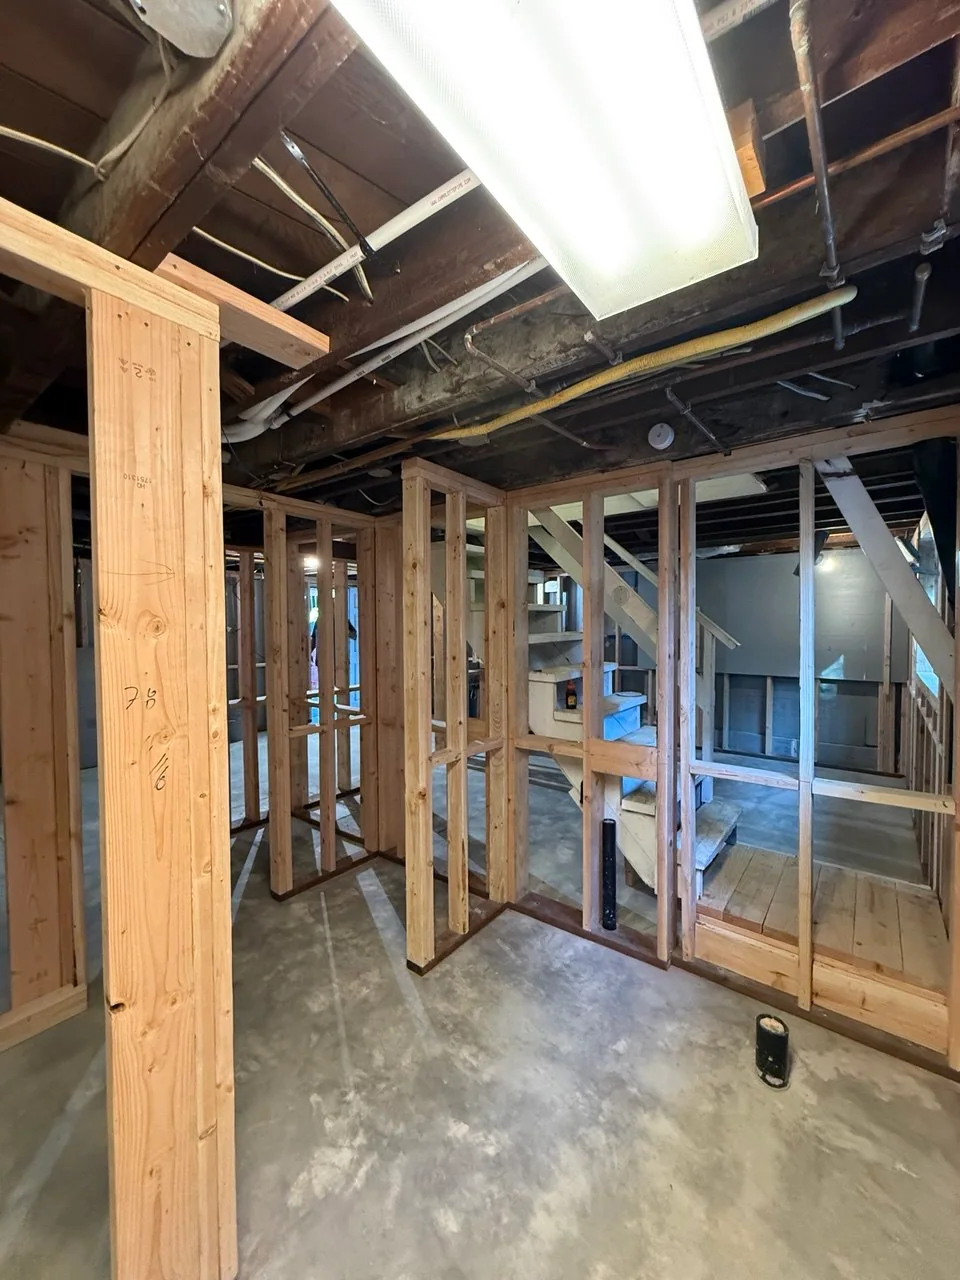
Completed partitions with framed openings, existing stair and plumbing stubs visible
Stair partitions
Completed interior partition layout across the basement with open ceiling utilities above
Room layout
Completed framed room with black plumbing stubs rising through the new concrete floor
Plumbing room
Completed partition wall framing with plumbing stubs and staged lumber in the foreground
Service wall
Open basement room with concrete floor, insulated perimeter framing and exposed ceiling joists
Open room
View through completed wall framing with perimeter insulation and staged lumber visible
Framed corridor
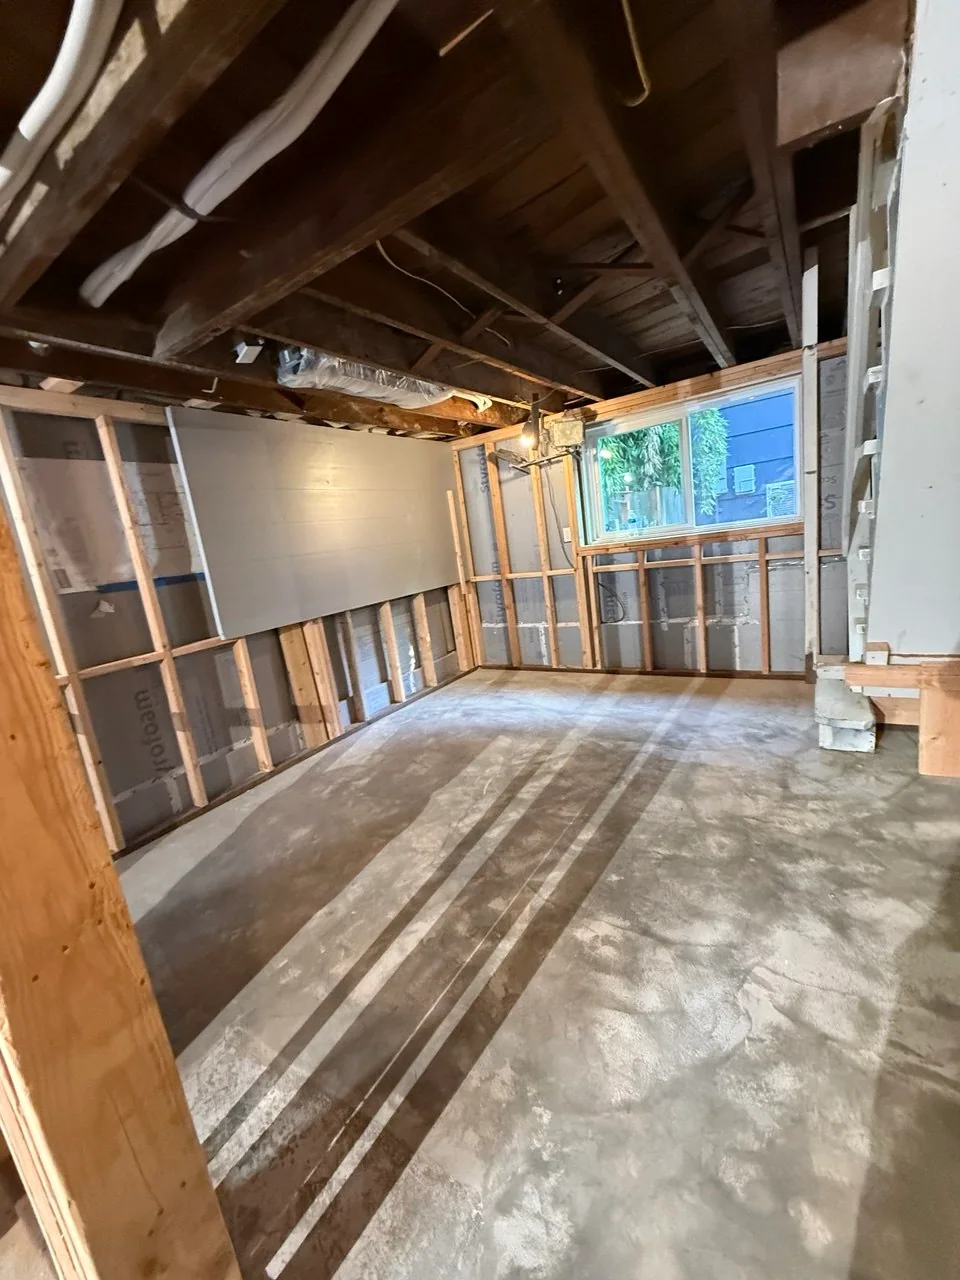
Perimeter room with wall furring, insulation, concrete floor and open ceiling utilities
Perimeter room
Why this stage mattersCompleted framing turns the plan into full-scale rooms while keeping the walls and ceiling open for HVAC, electrical and plumbing coordination.

08 · Rough-ins and finishes

HVAC, electrical and plumbing come next.

With framing complete, the next documented chapters will follow HVAC, electrical and plumbing rough-ins. Drywall, millwork and finish work will follow after the required coordination, reviews and approvals.

  1. 01HVAC rough-in
  2. 02Electrical rough-in
  3. 03Plumbing rough-in
  4. 04Drywall
  5. 05Millwork and finishes
Why this stage mattersNew photographs will be added only when each real stage is documented and approved for public use. The story will continue in construction order rather than mixing future work into earlier chapters.

Current-project journal

Follow the work—not just the final reveal.

All current projects →

Start with a conversation

What could your basement become?

Share what is not working and what you want your home to feel like. Christian will help identify the next step.